Before
 3 Bedrooms
 2 Bathrooms
 House Floor Size 93 m2
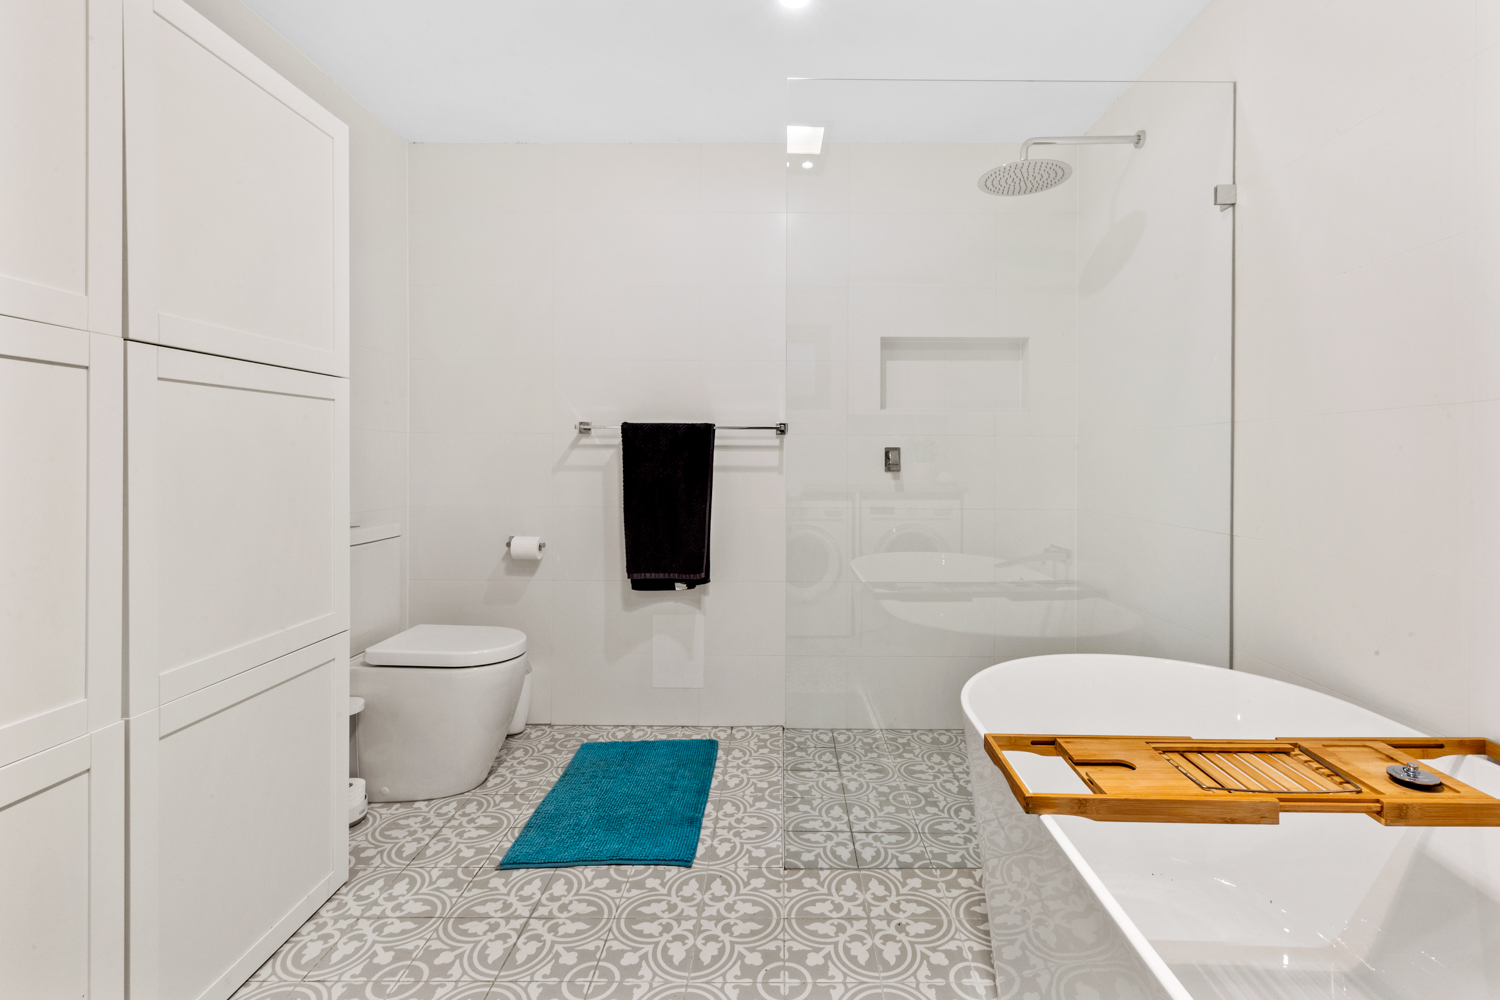
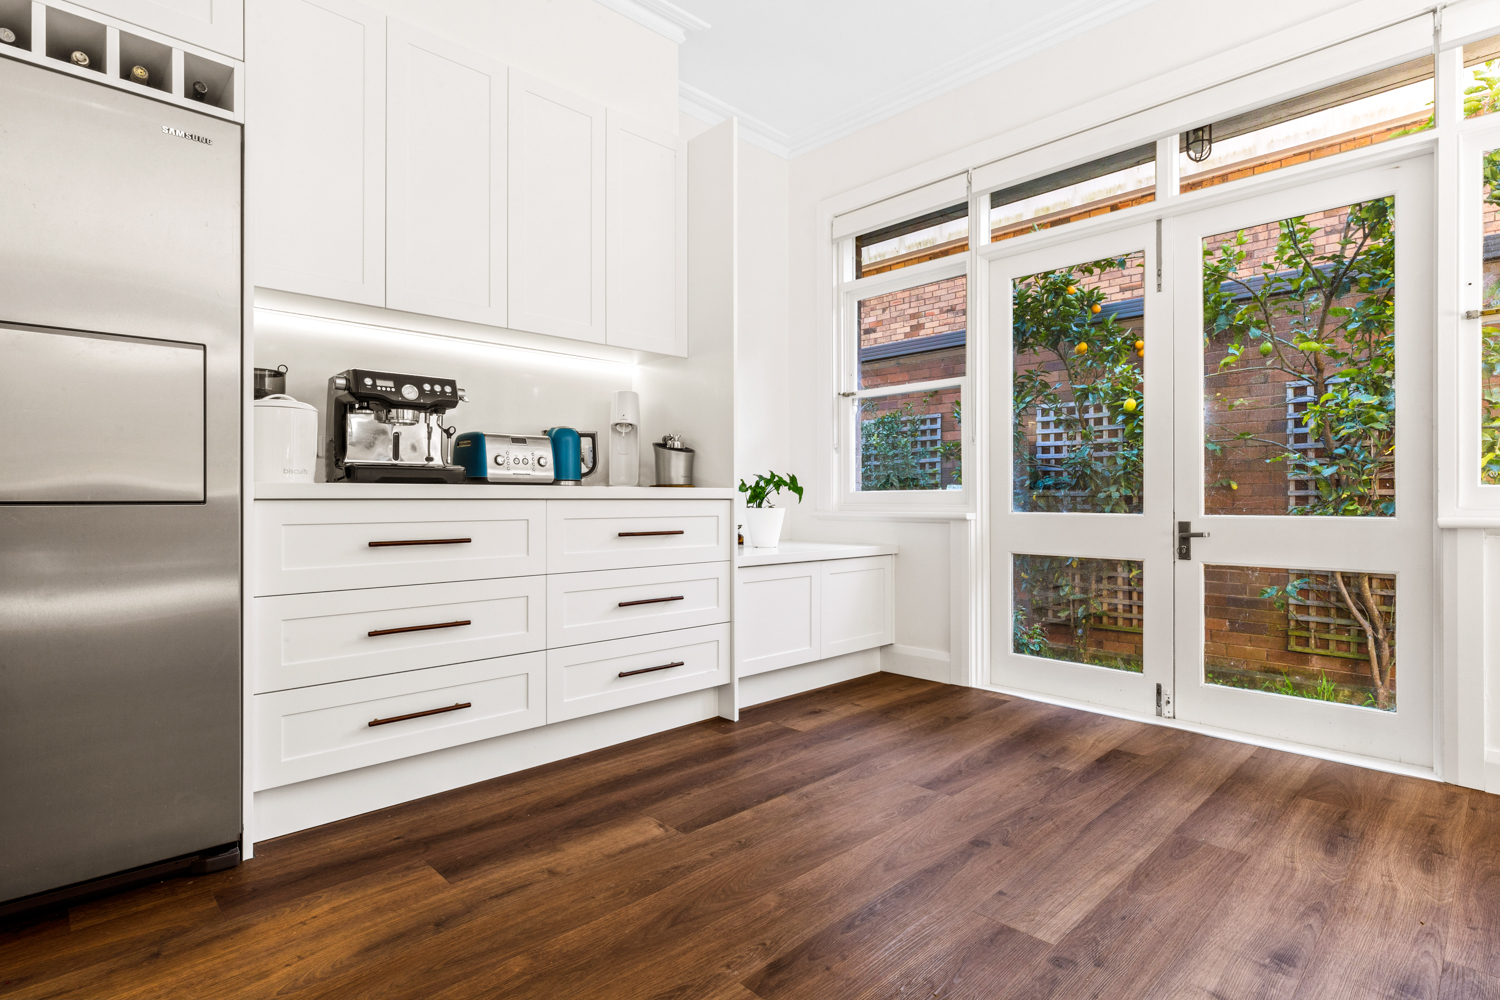
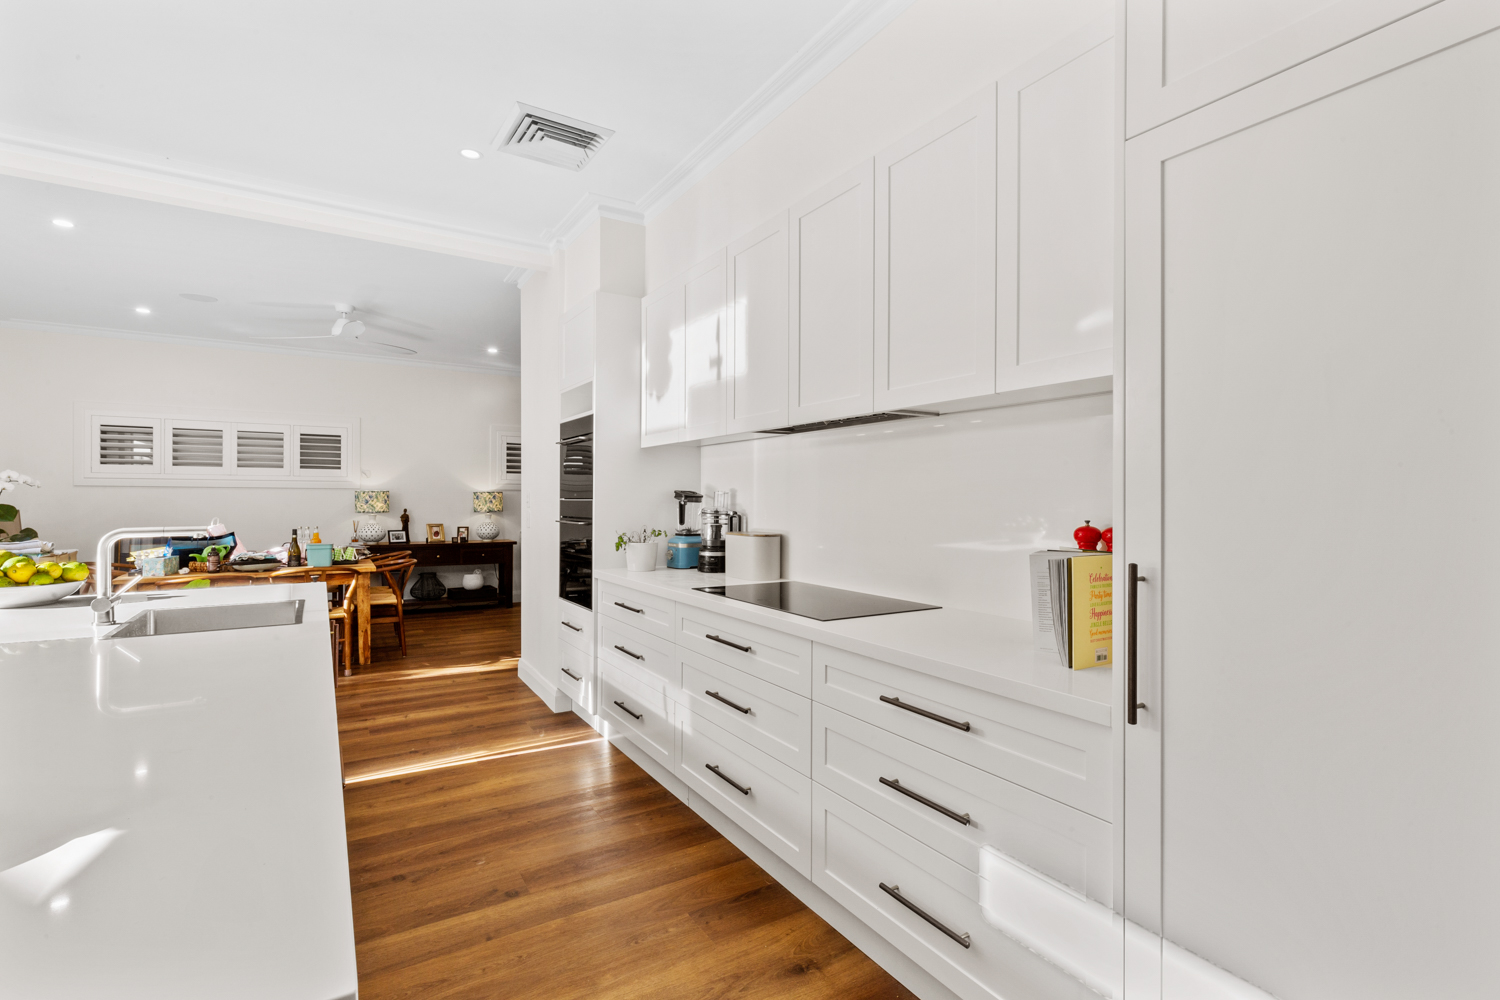
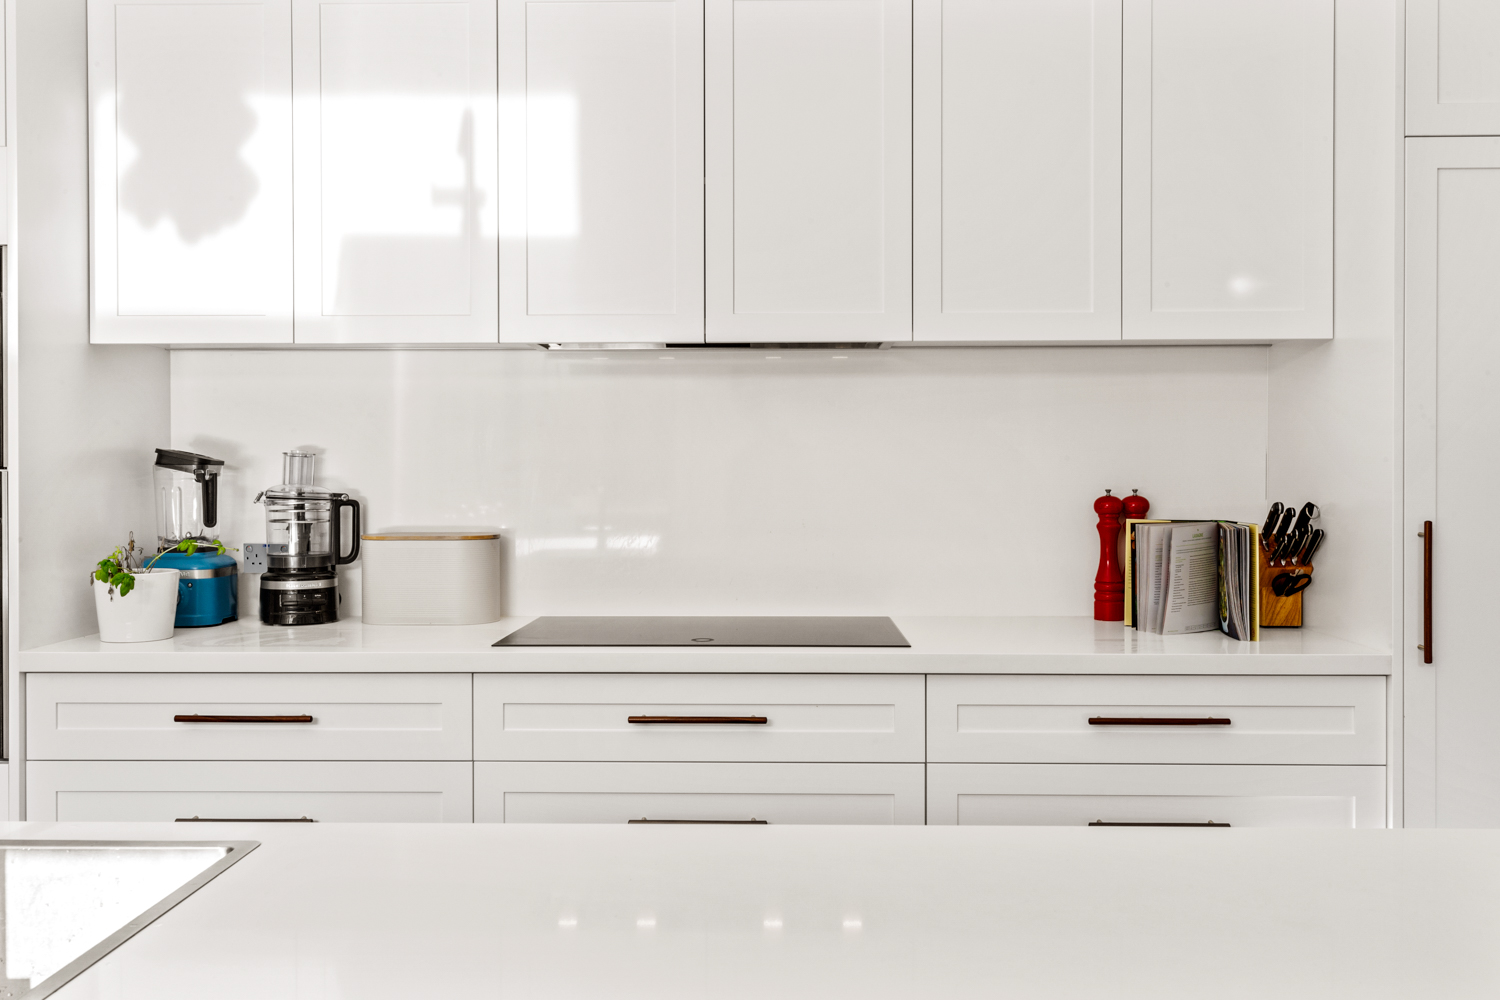
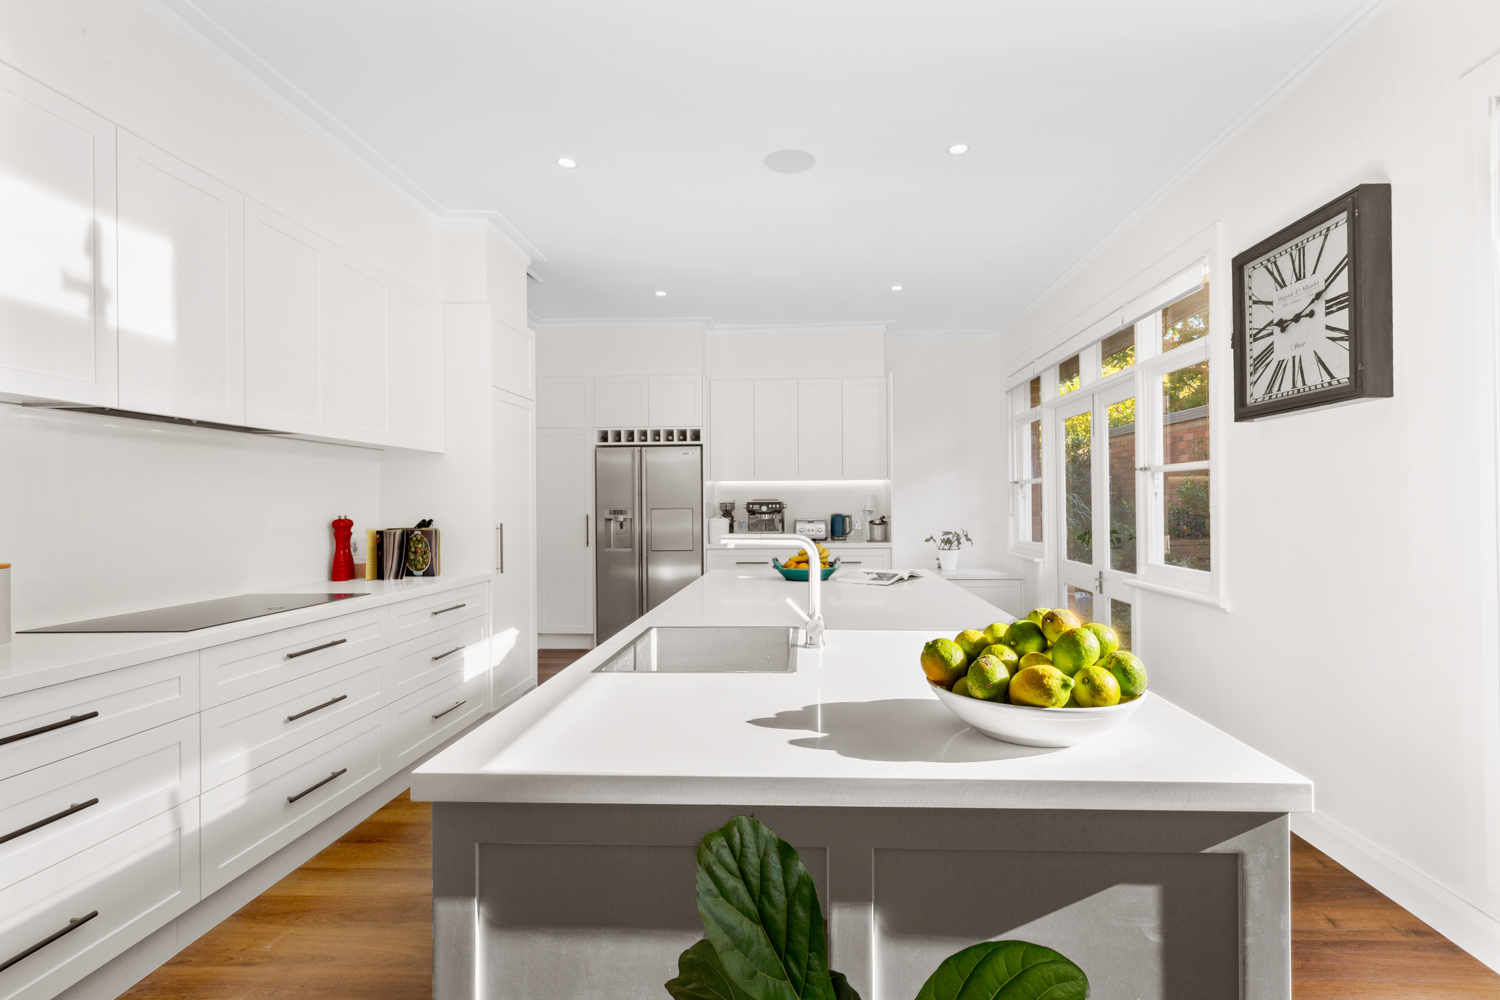
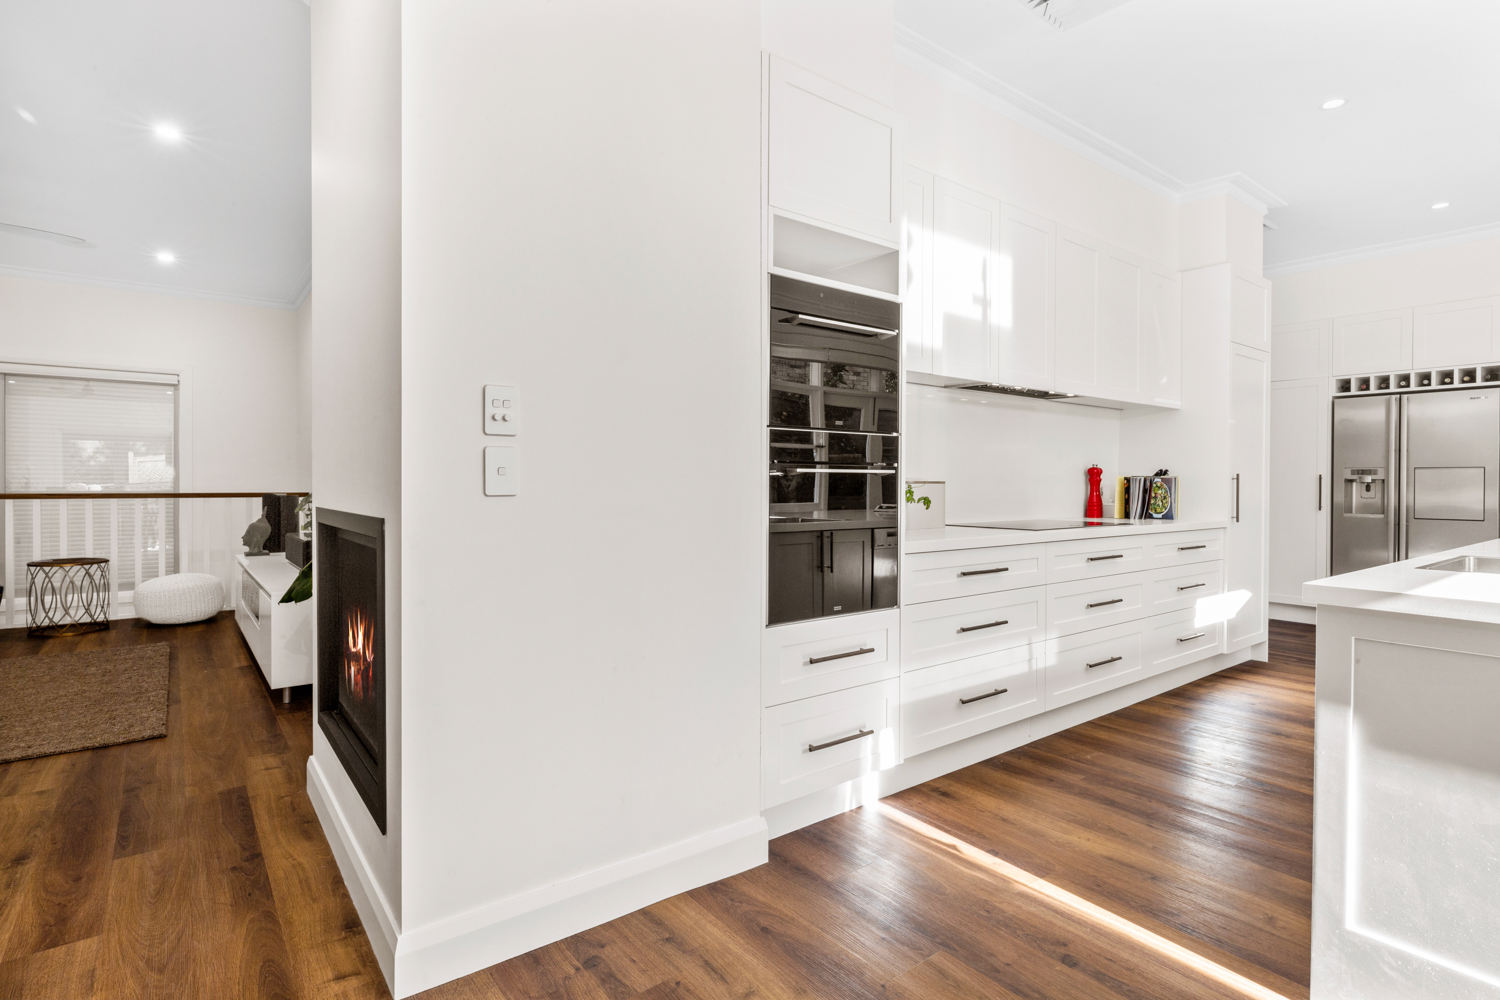
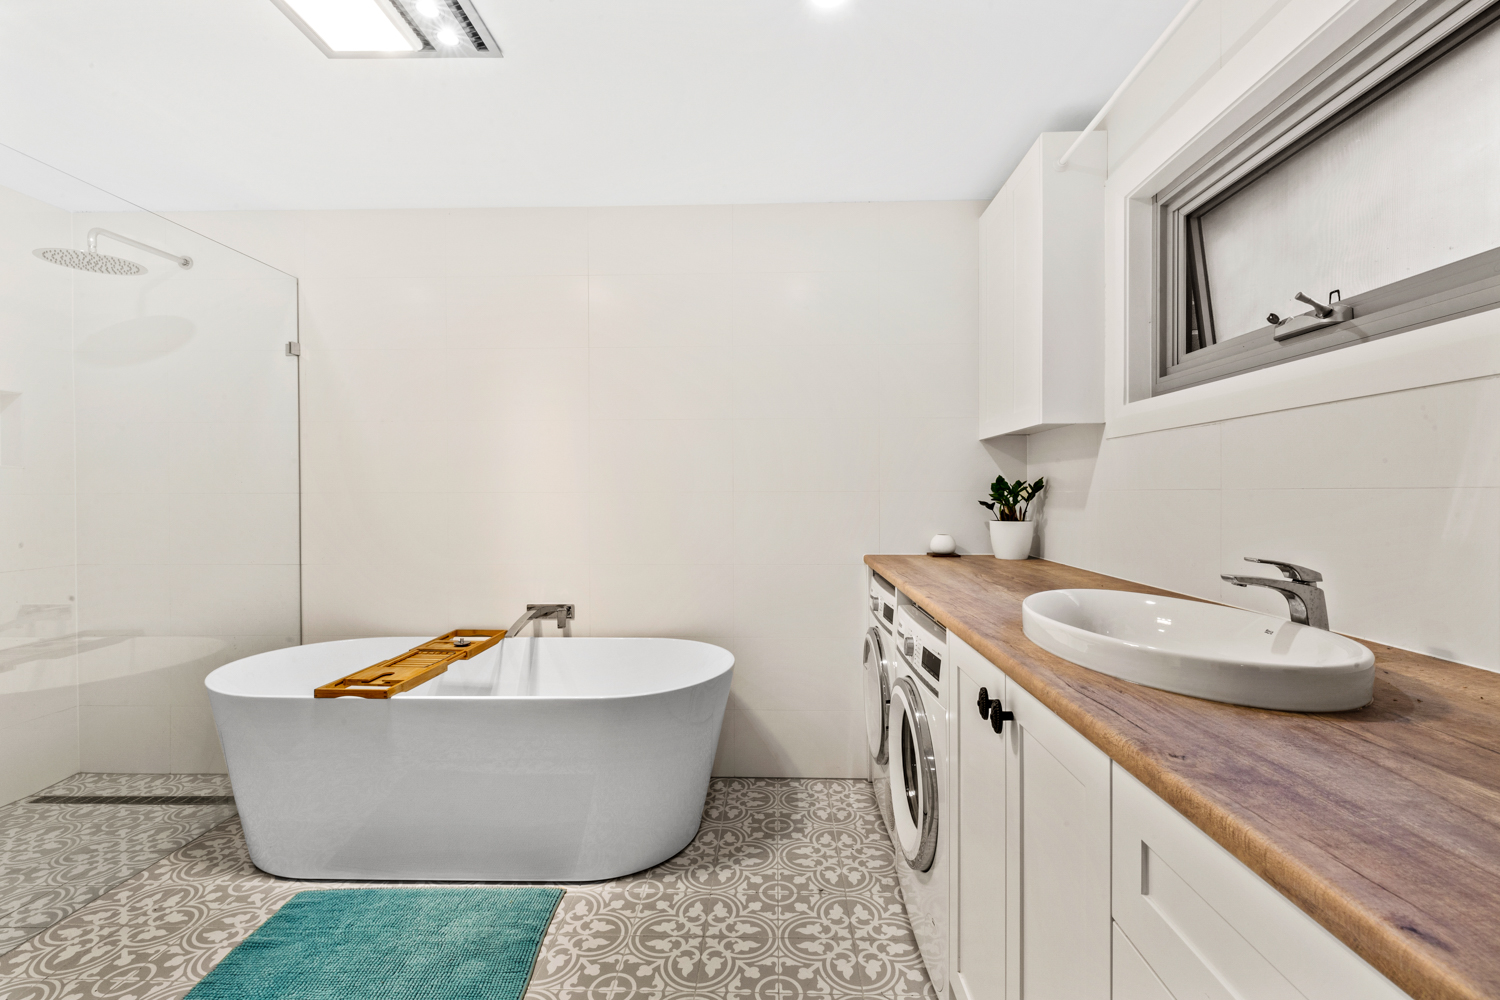
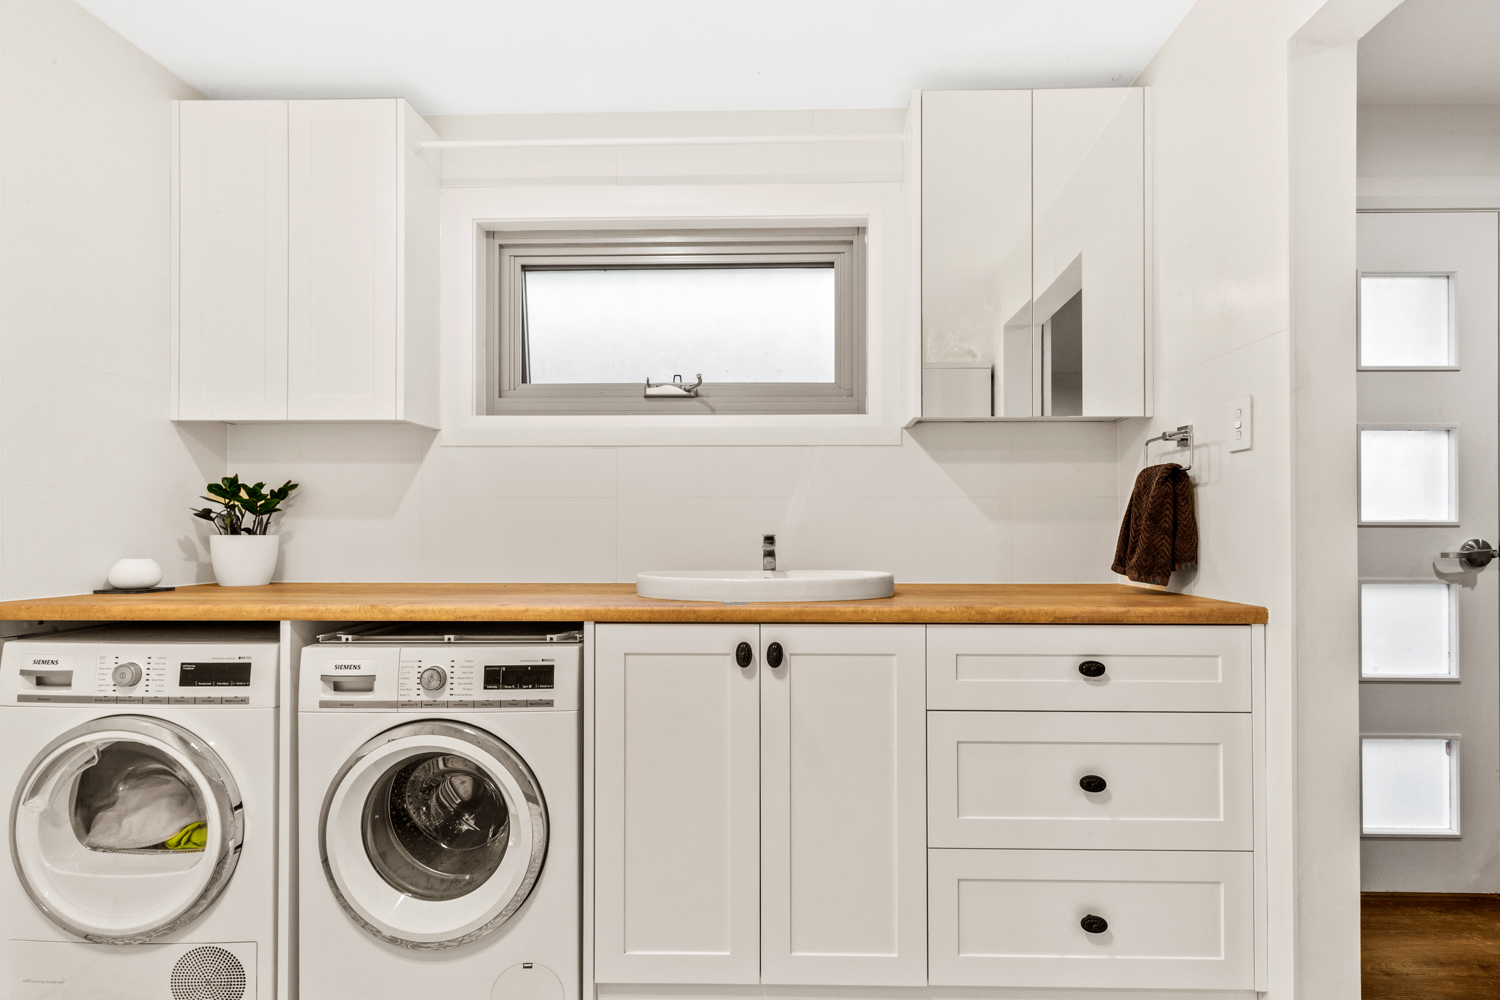
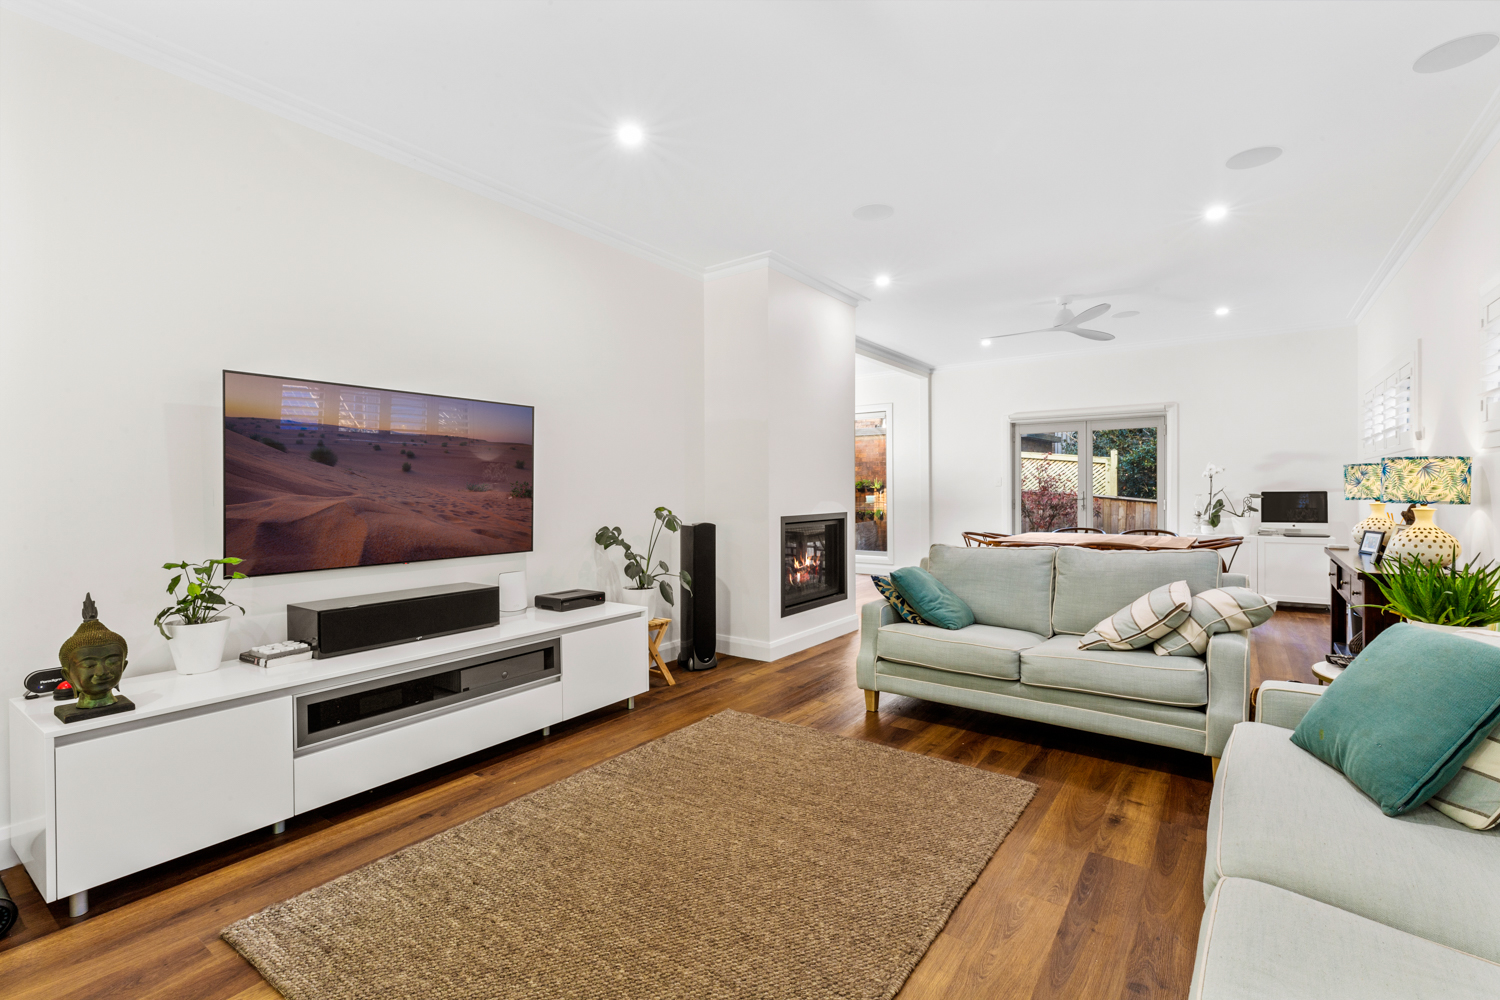
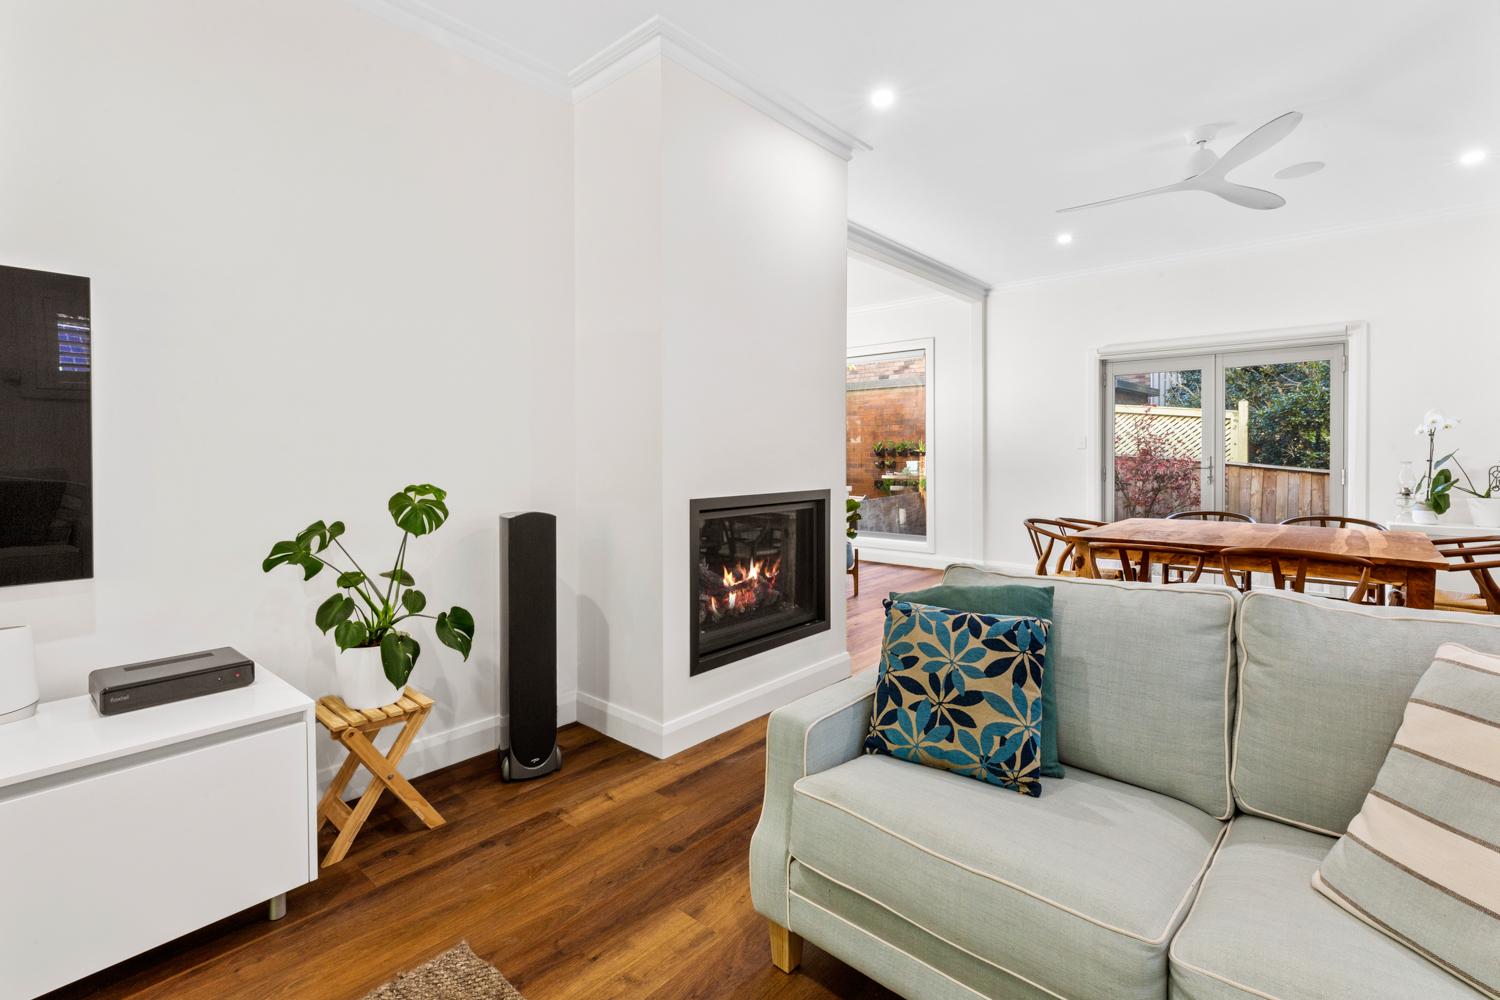
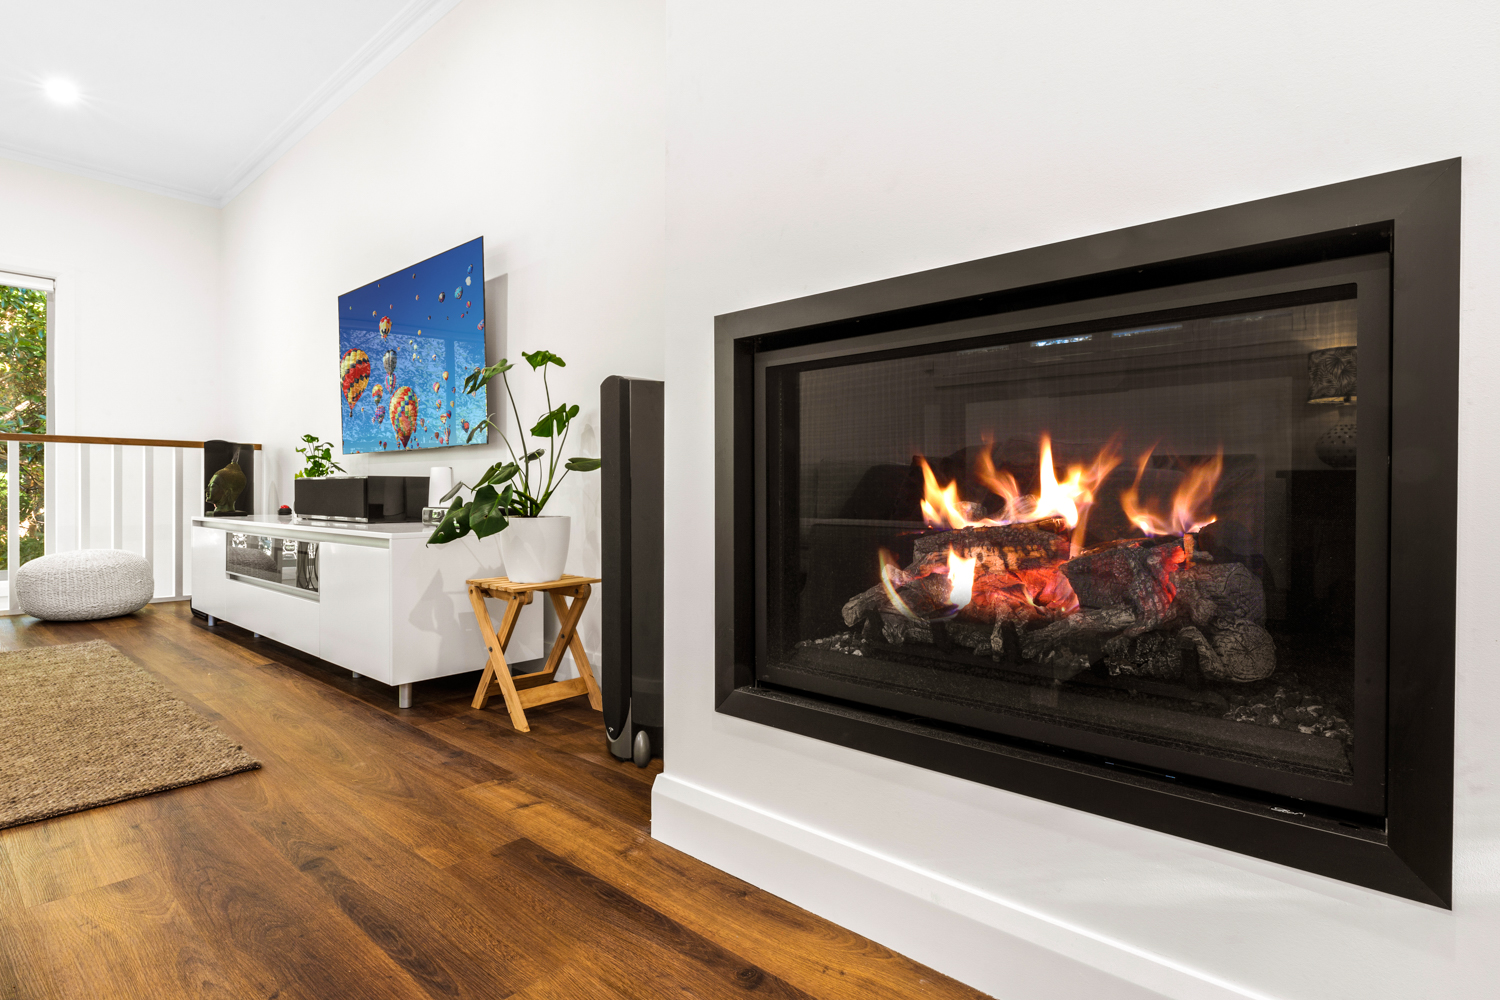
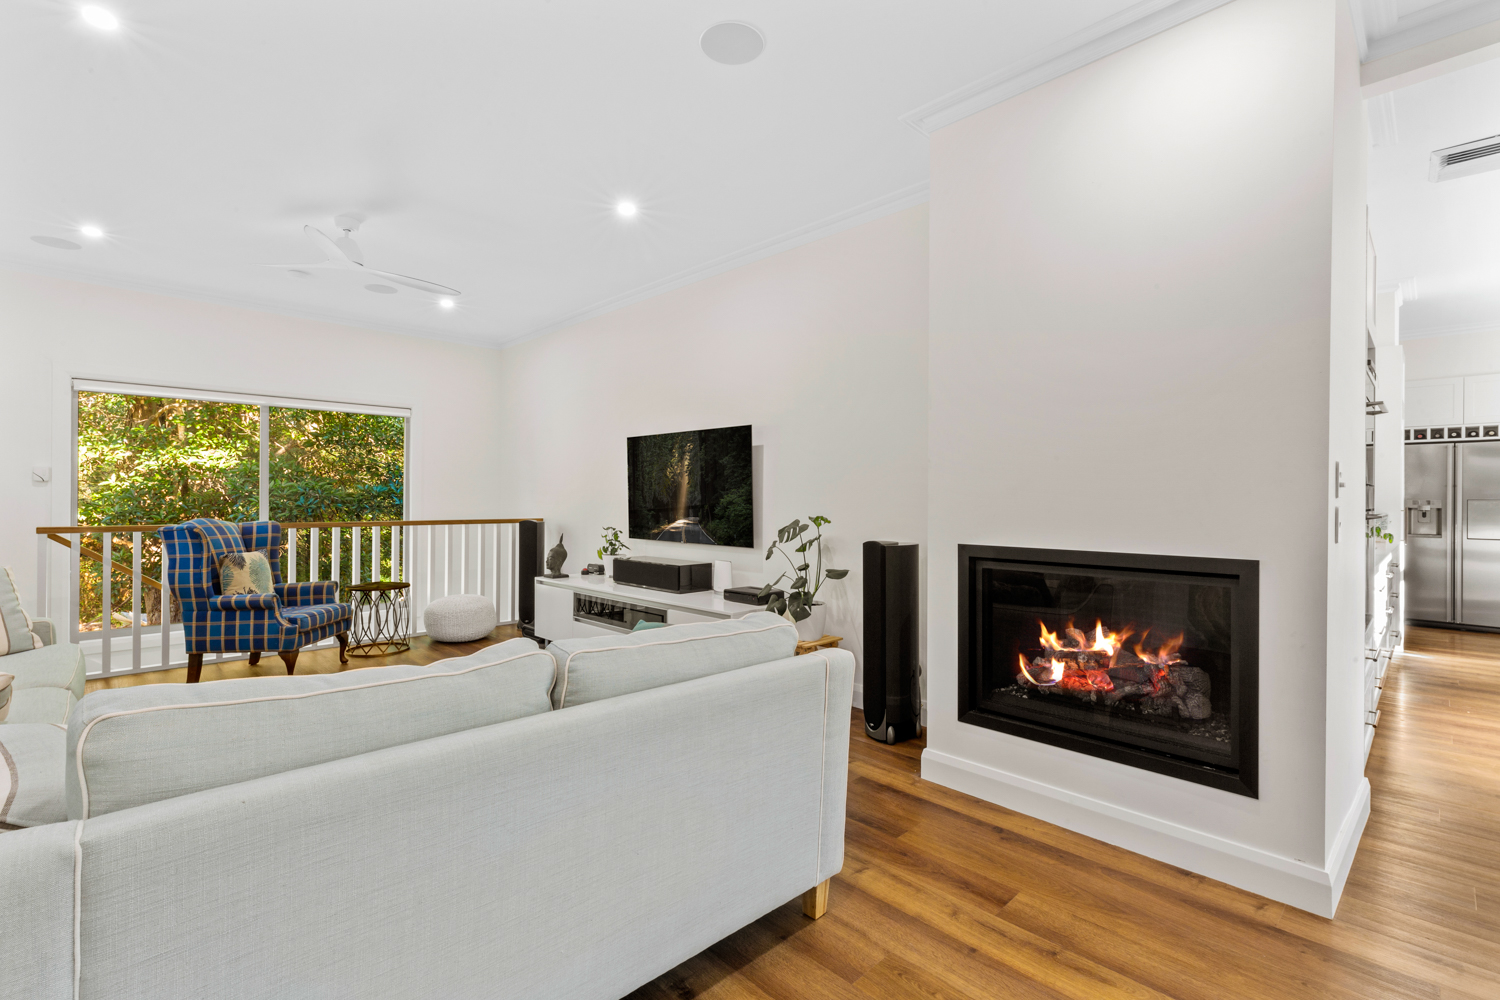
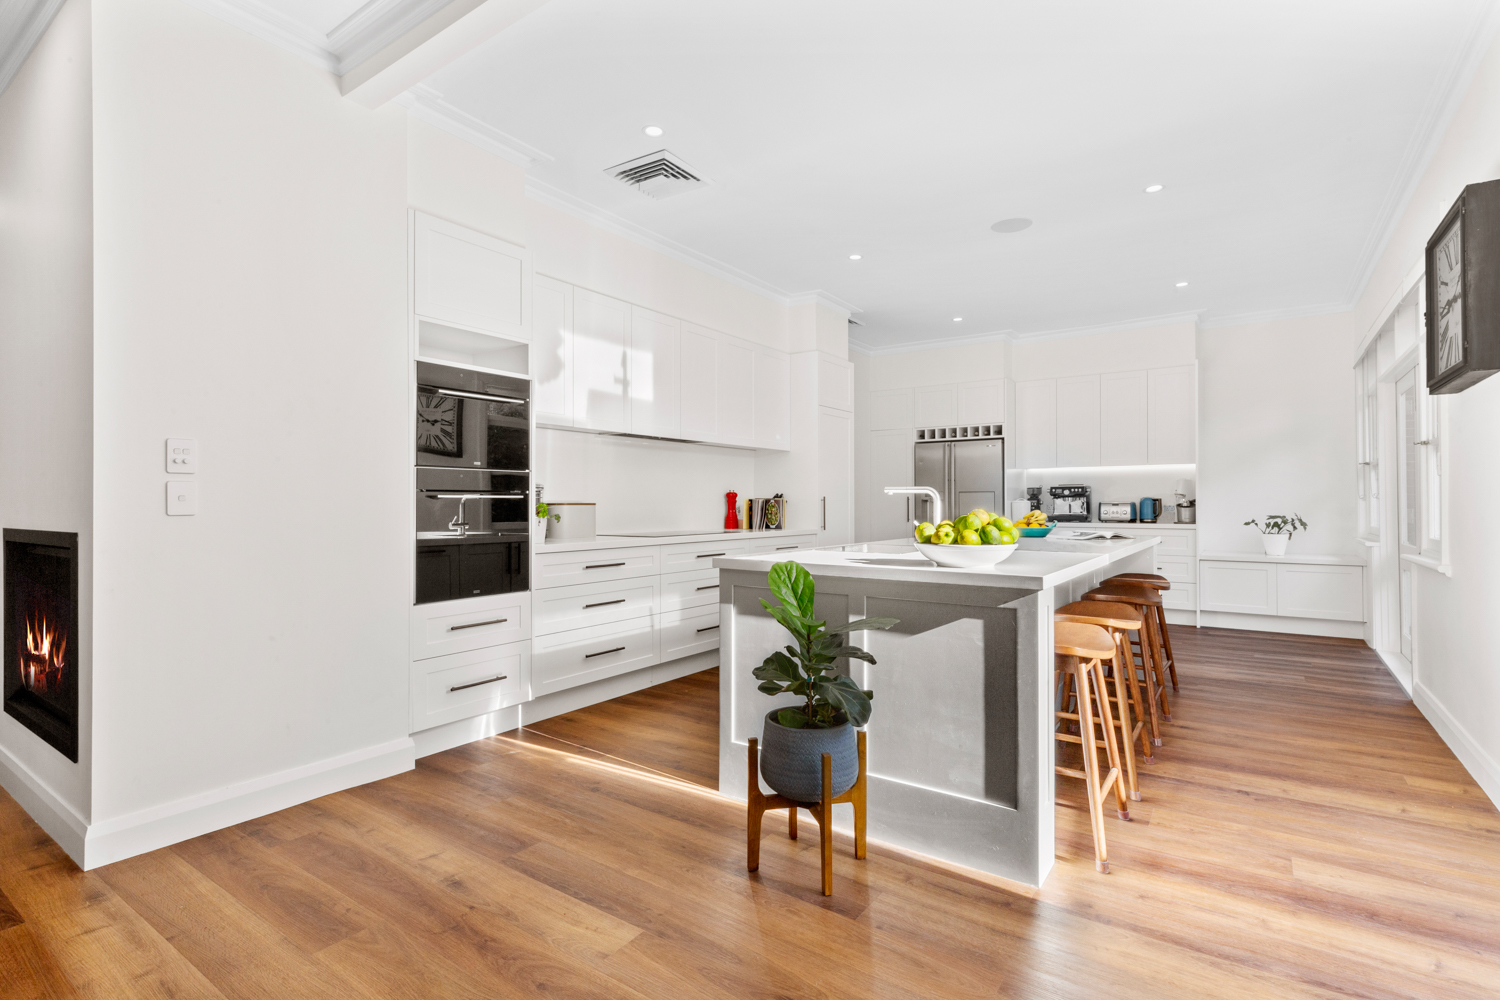
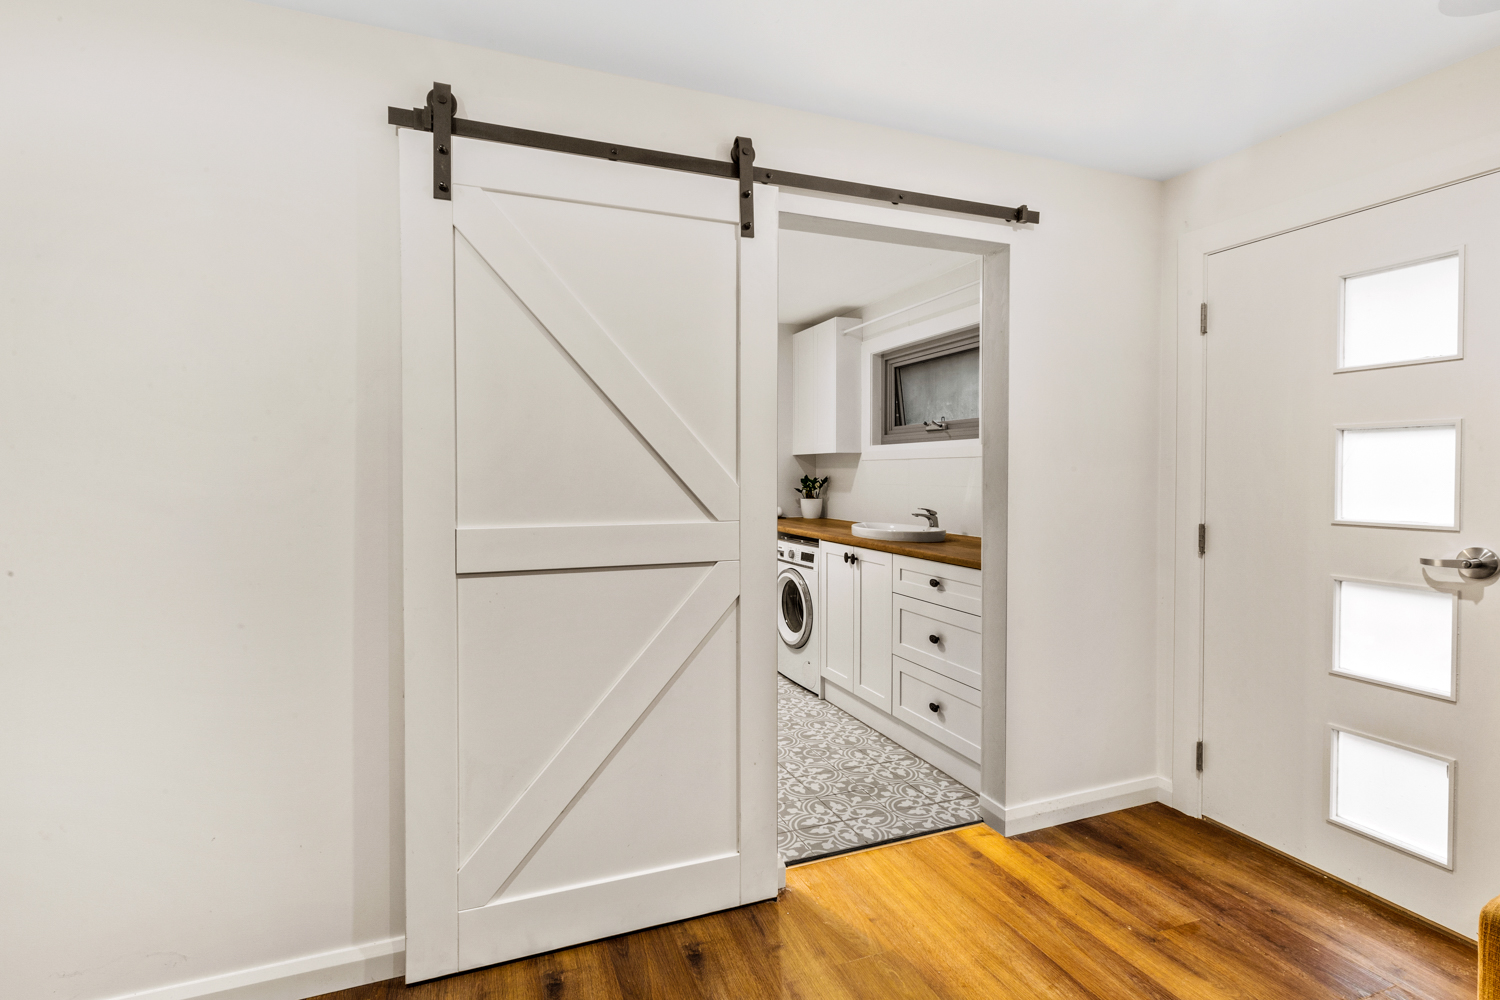
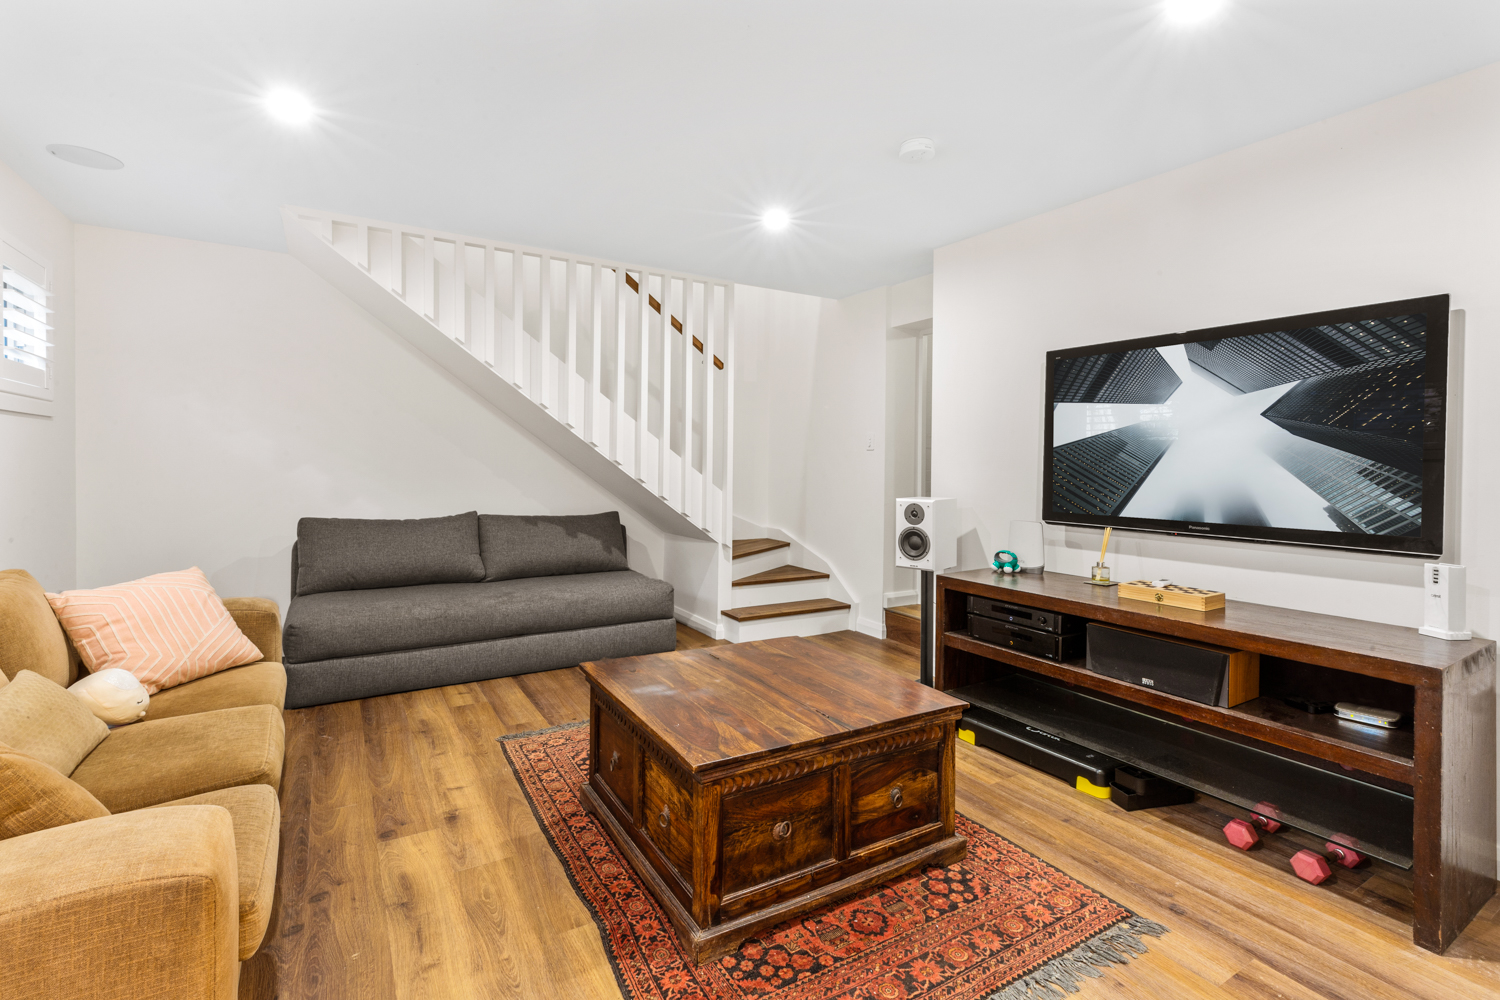
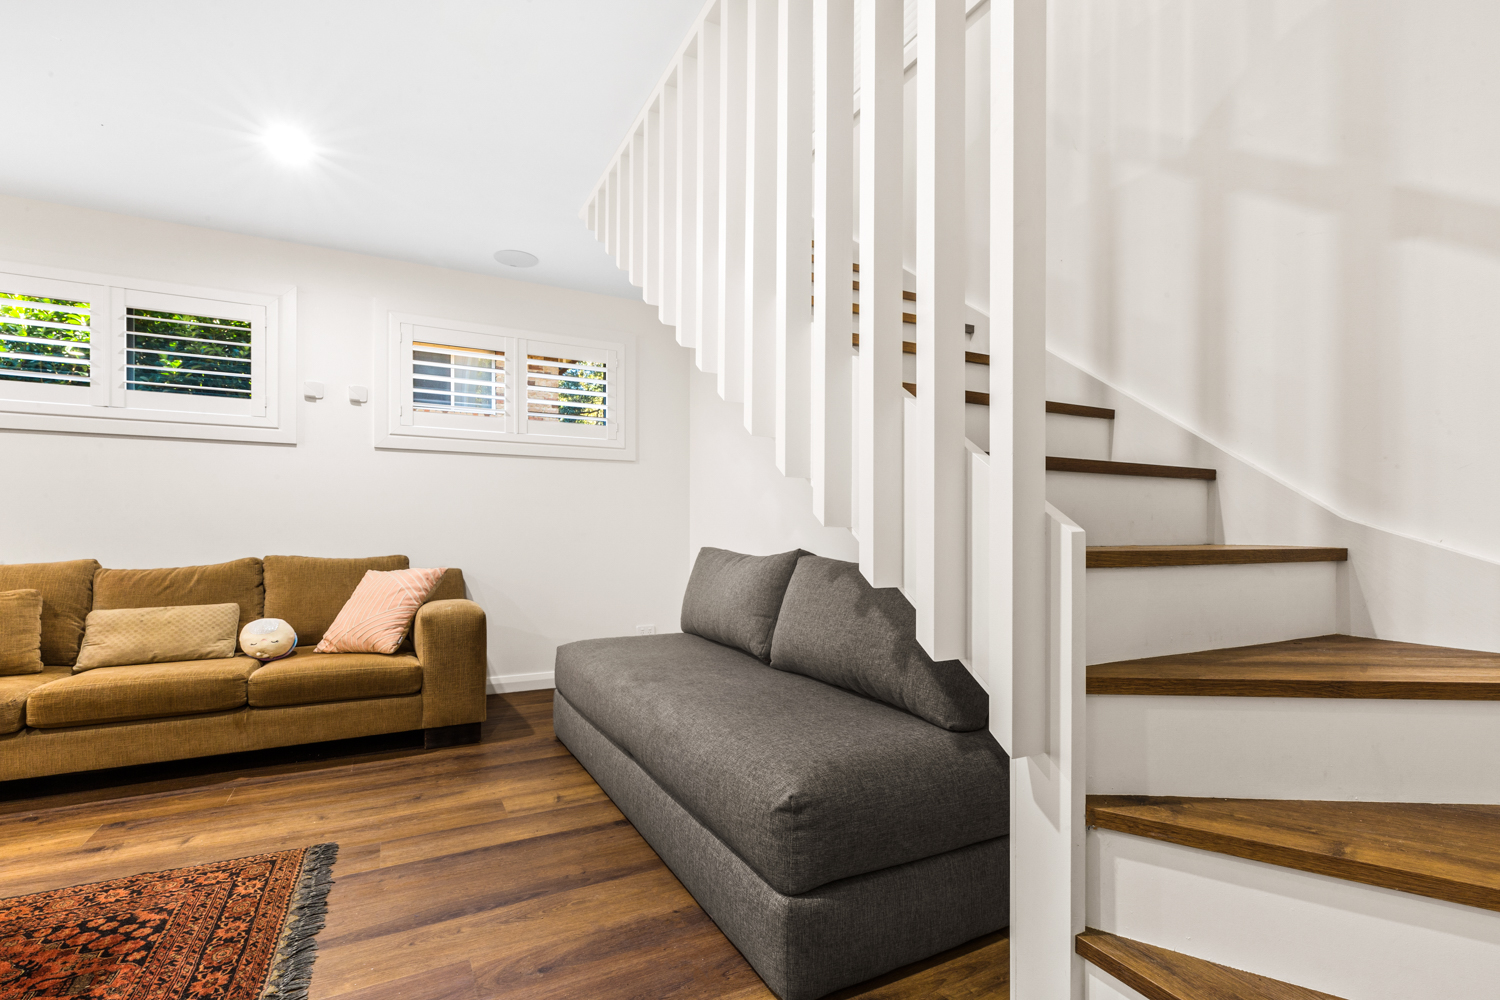
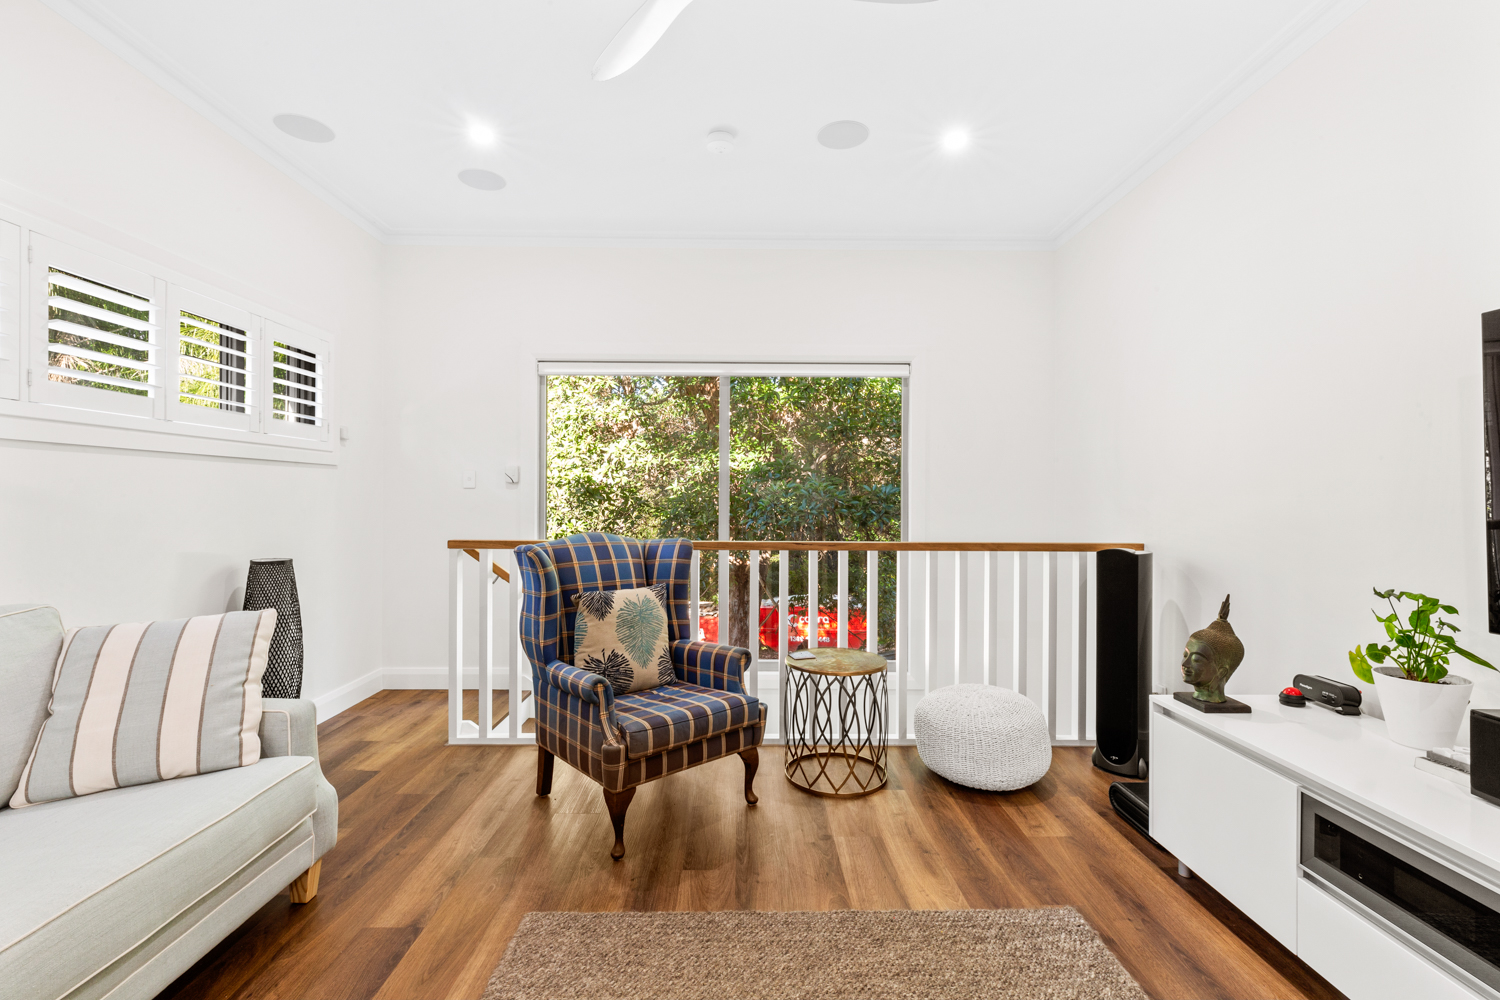
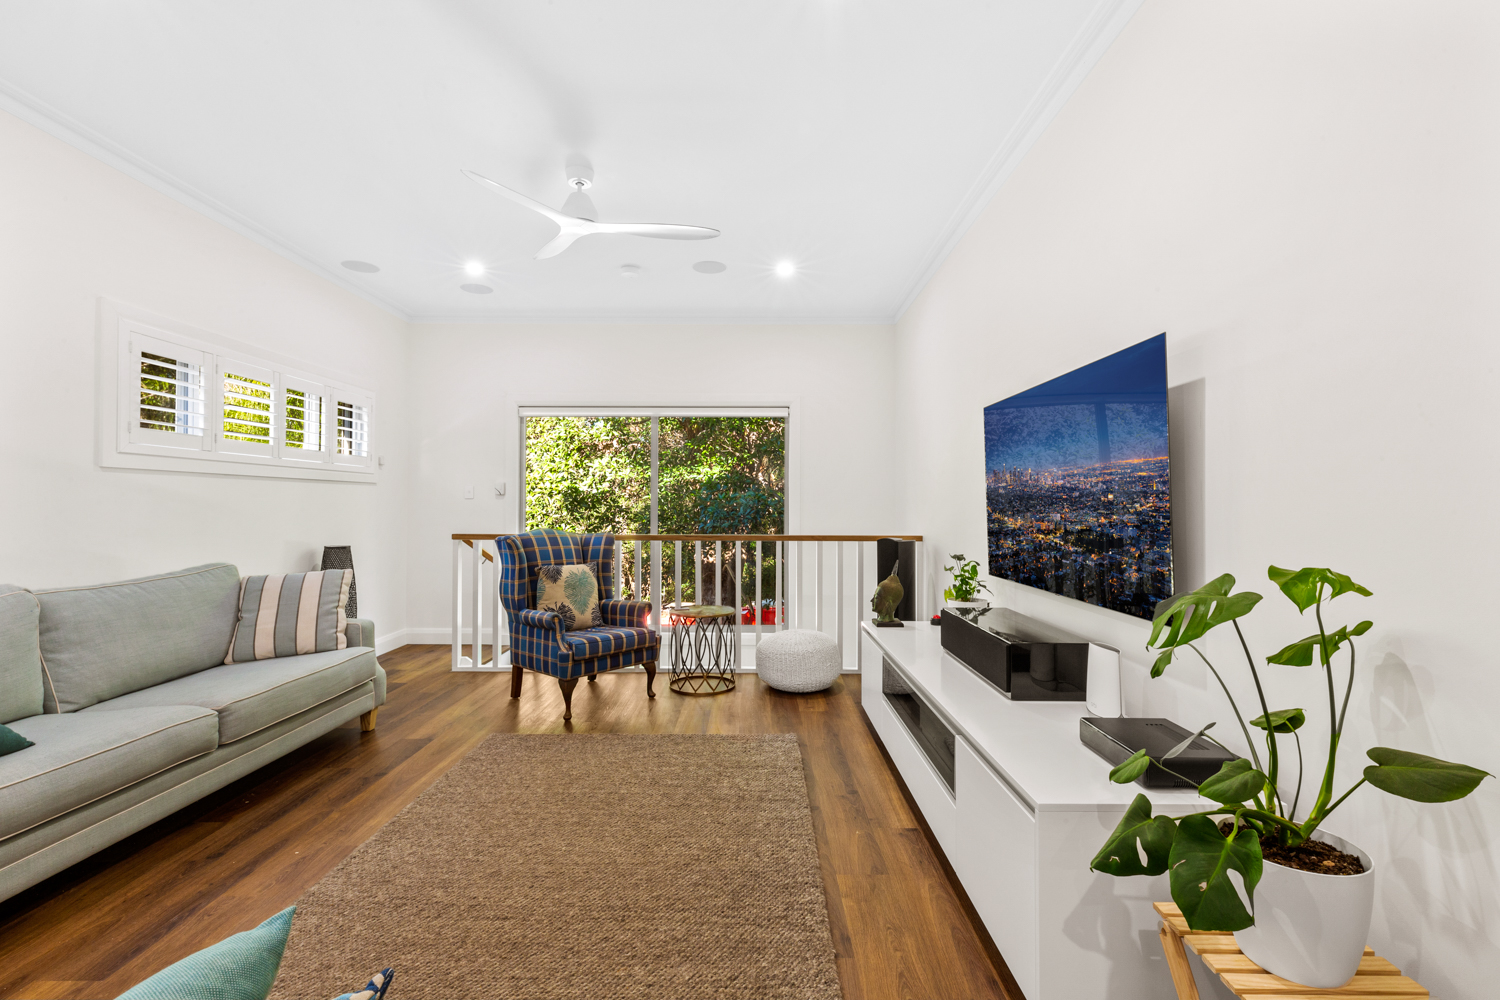
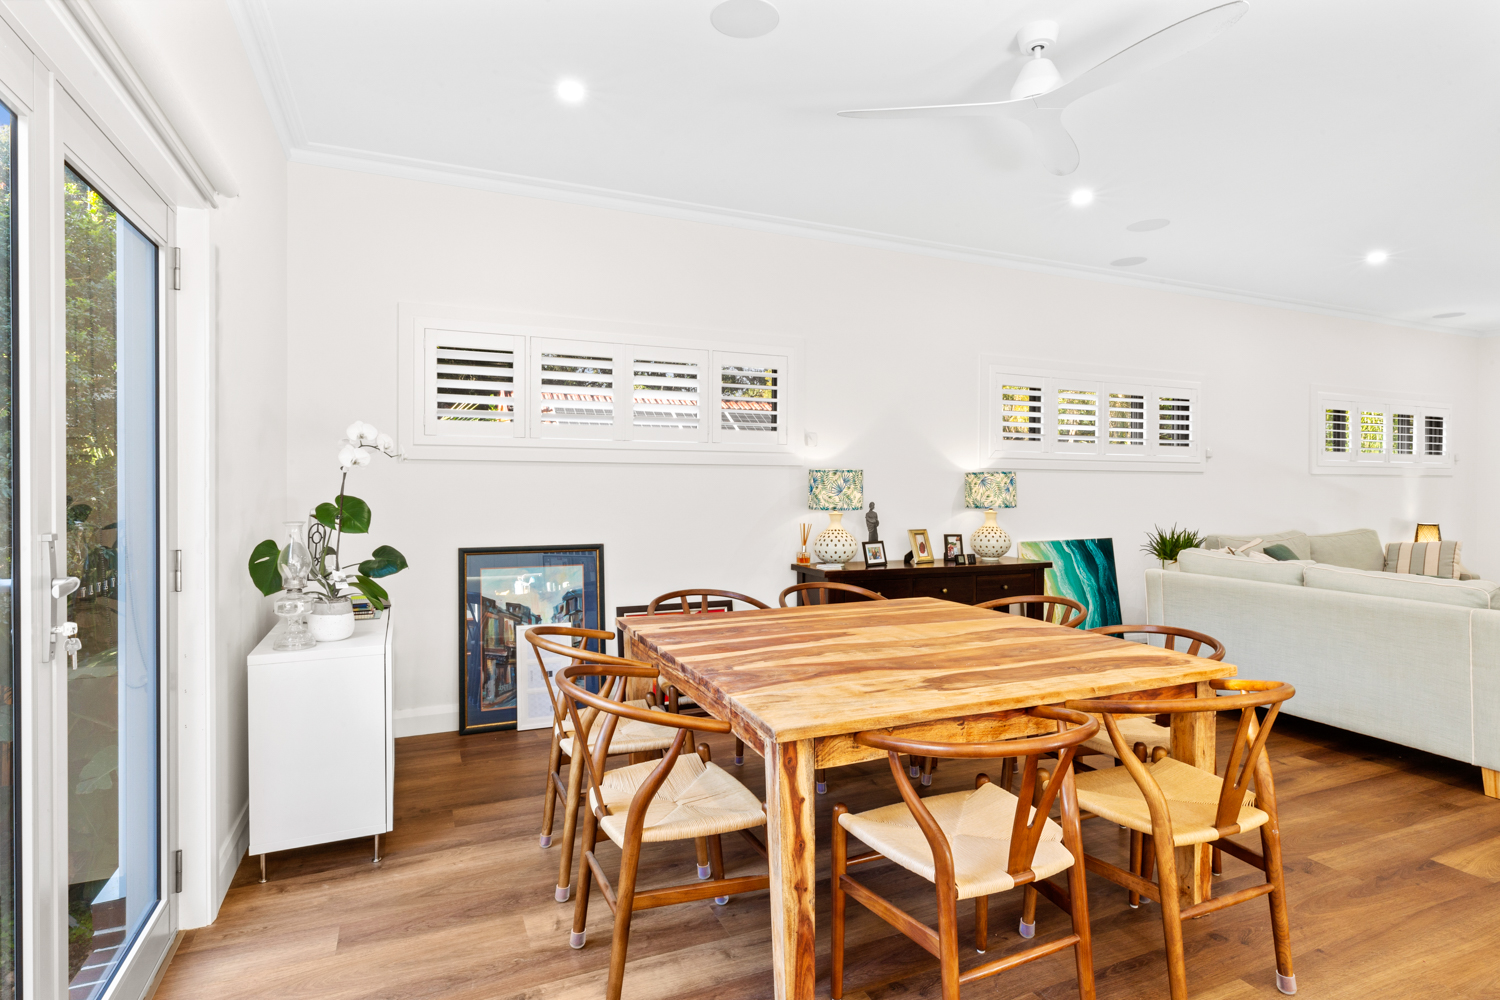
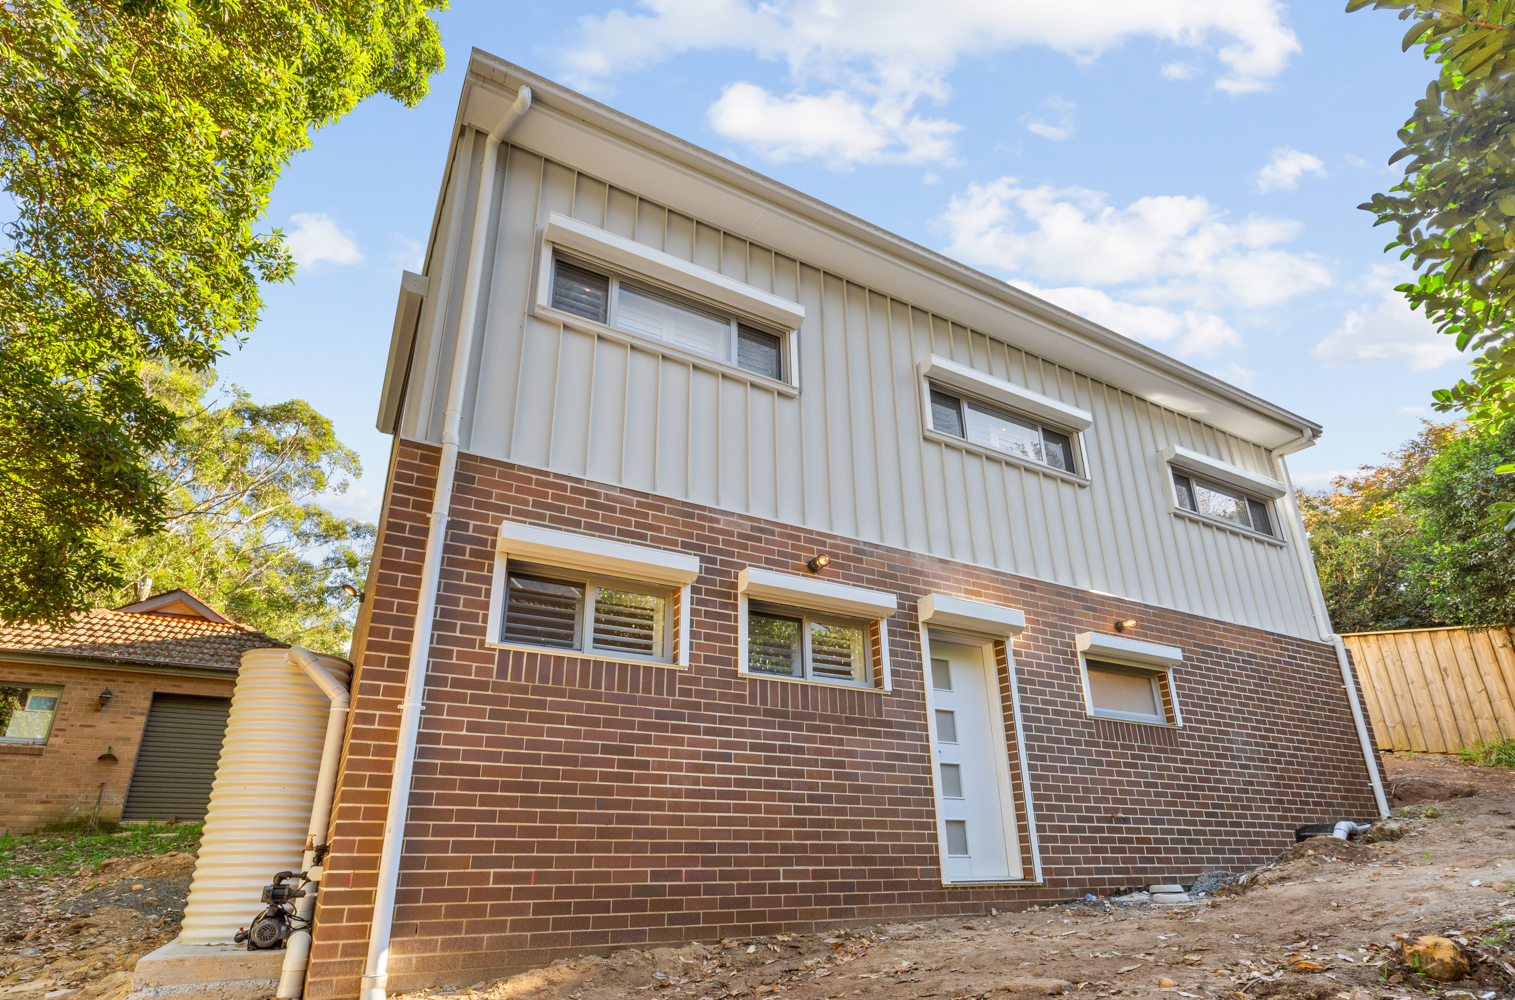
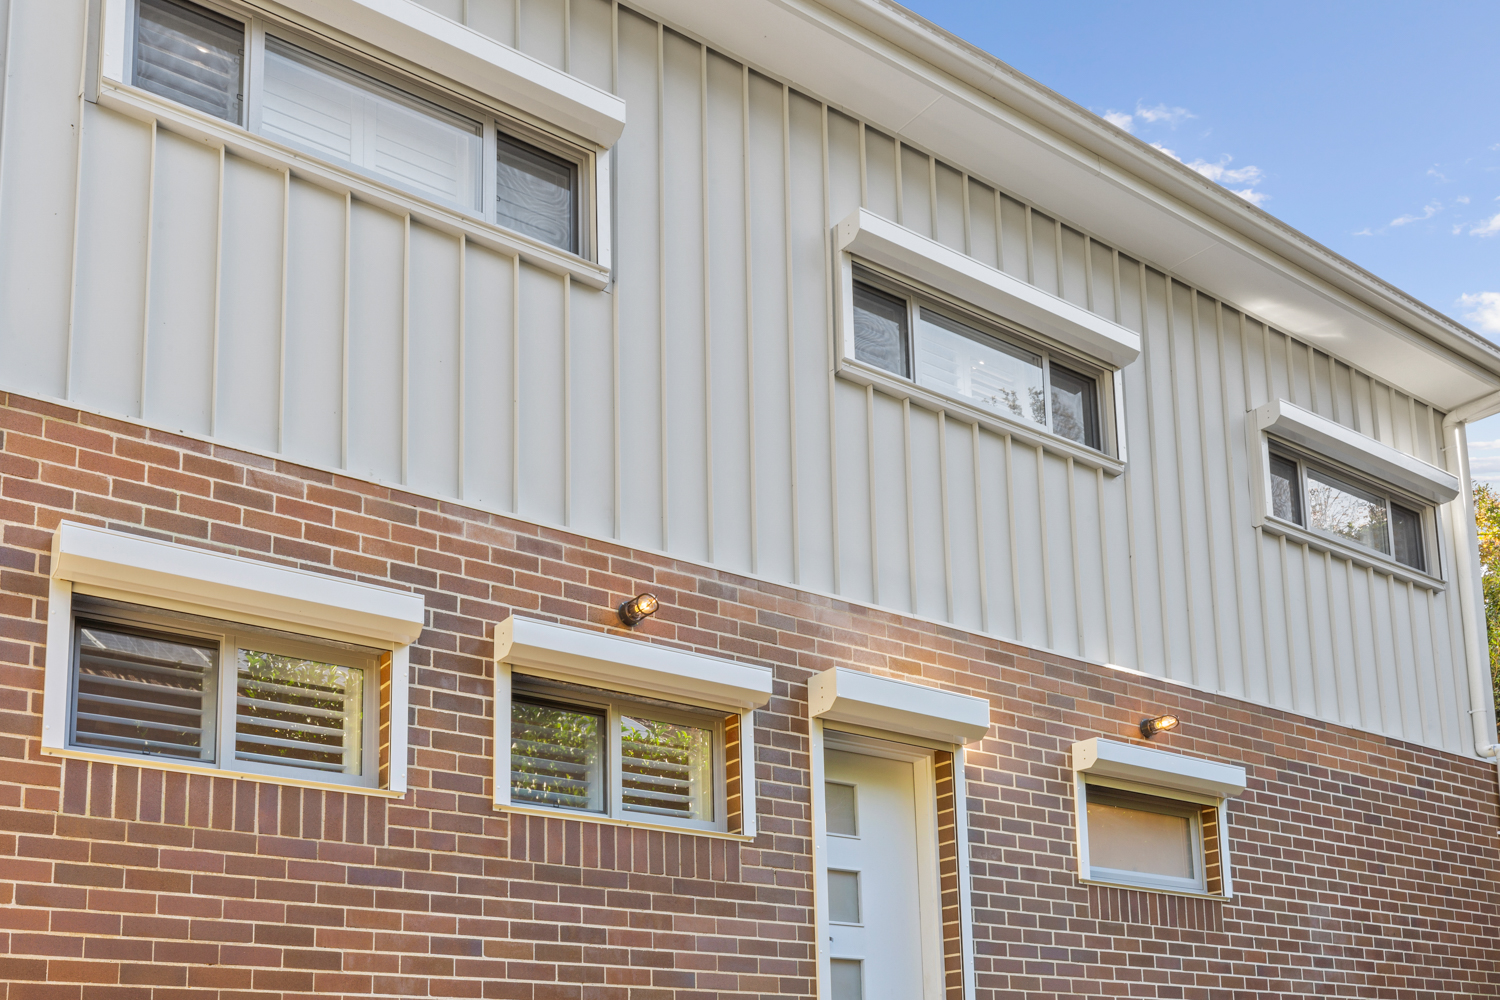
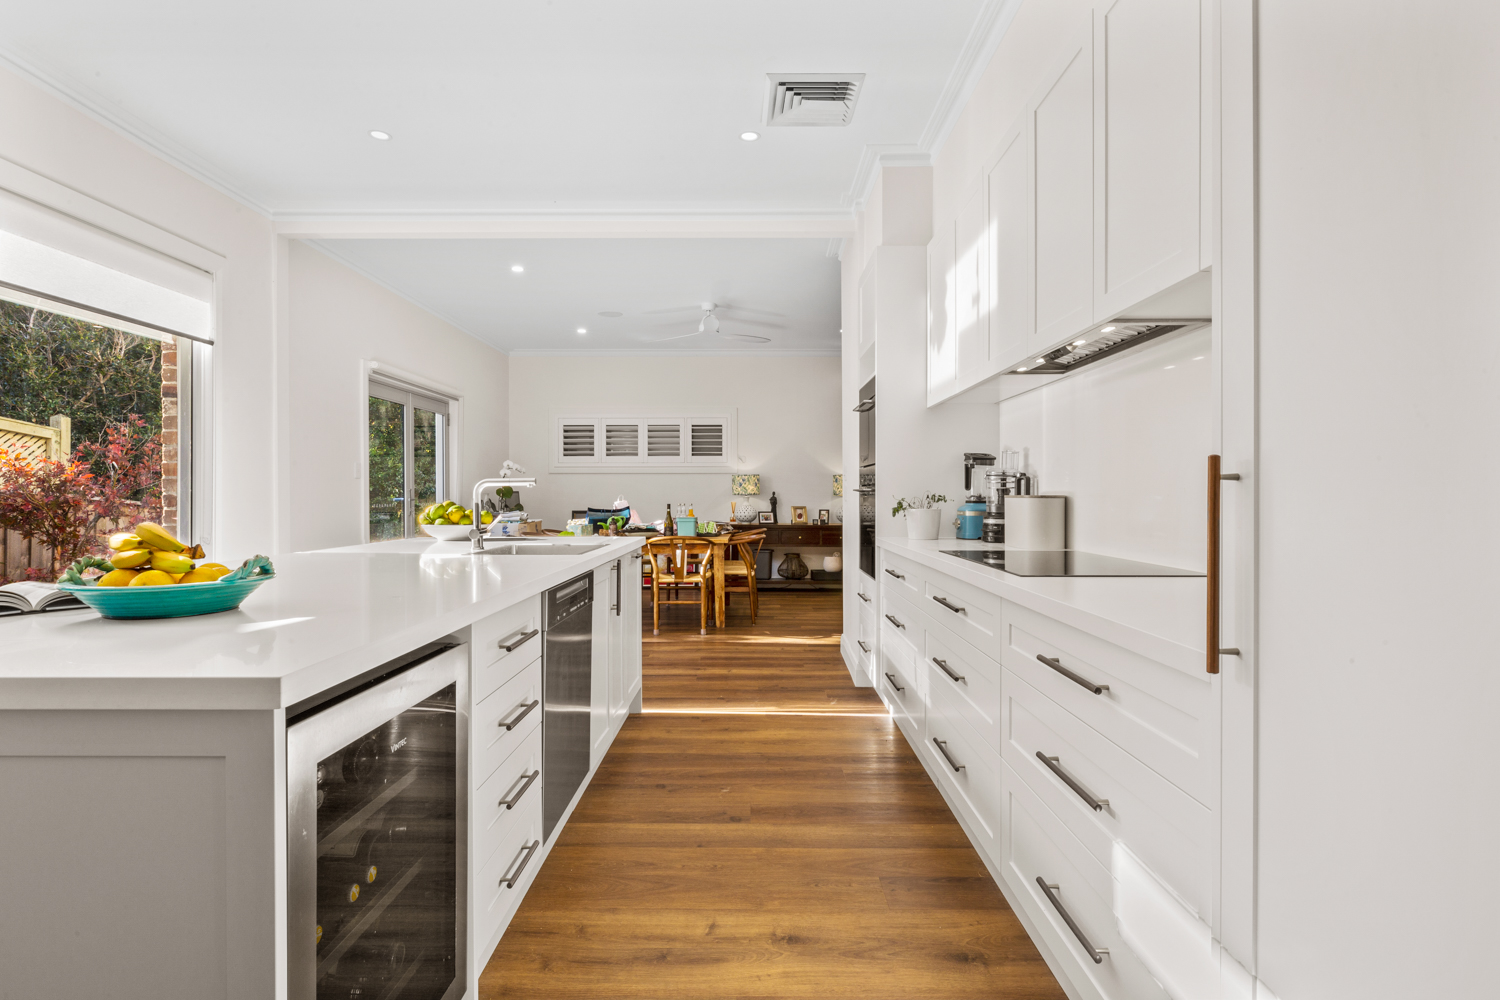
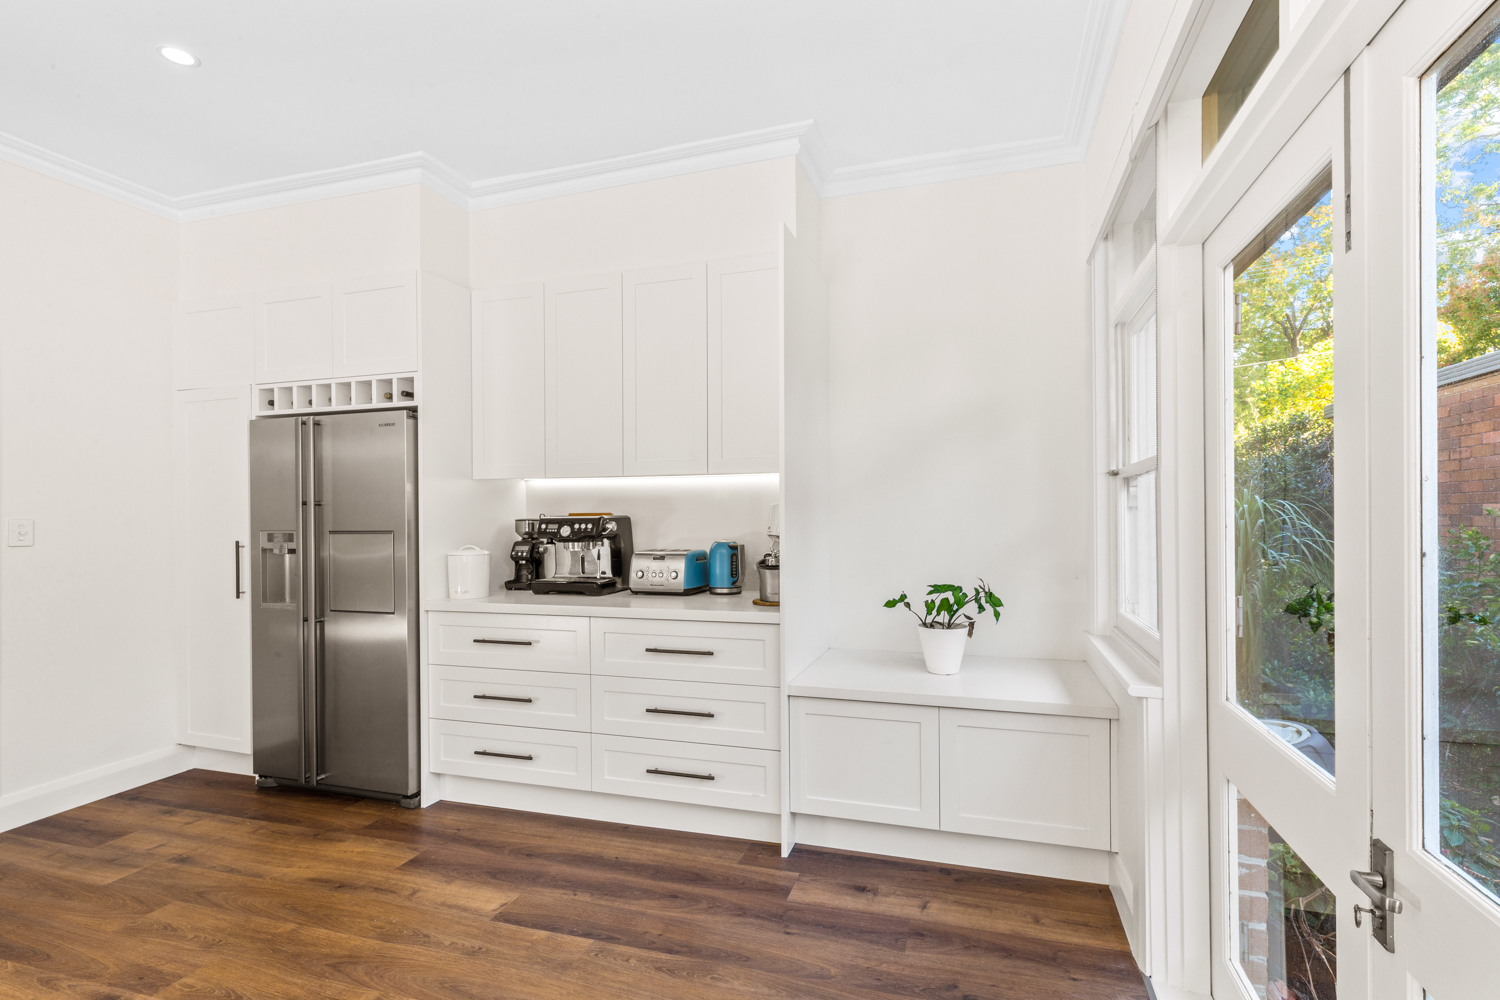
After
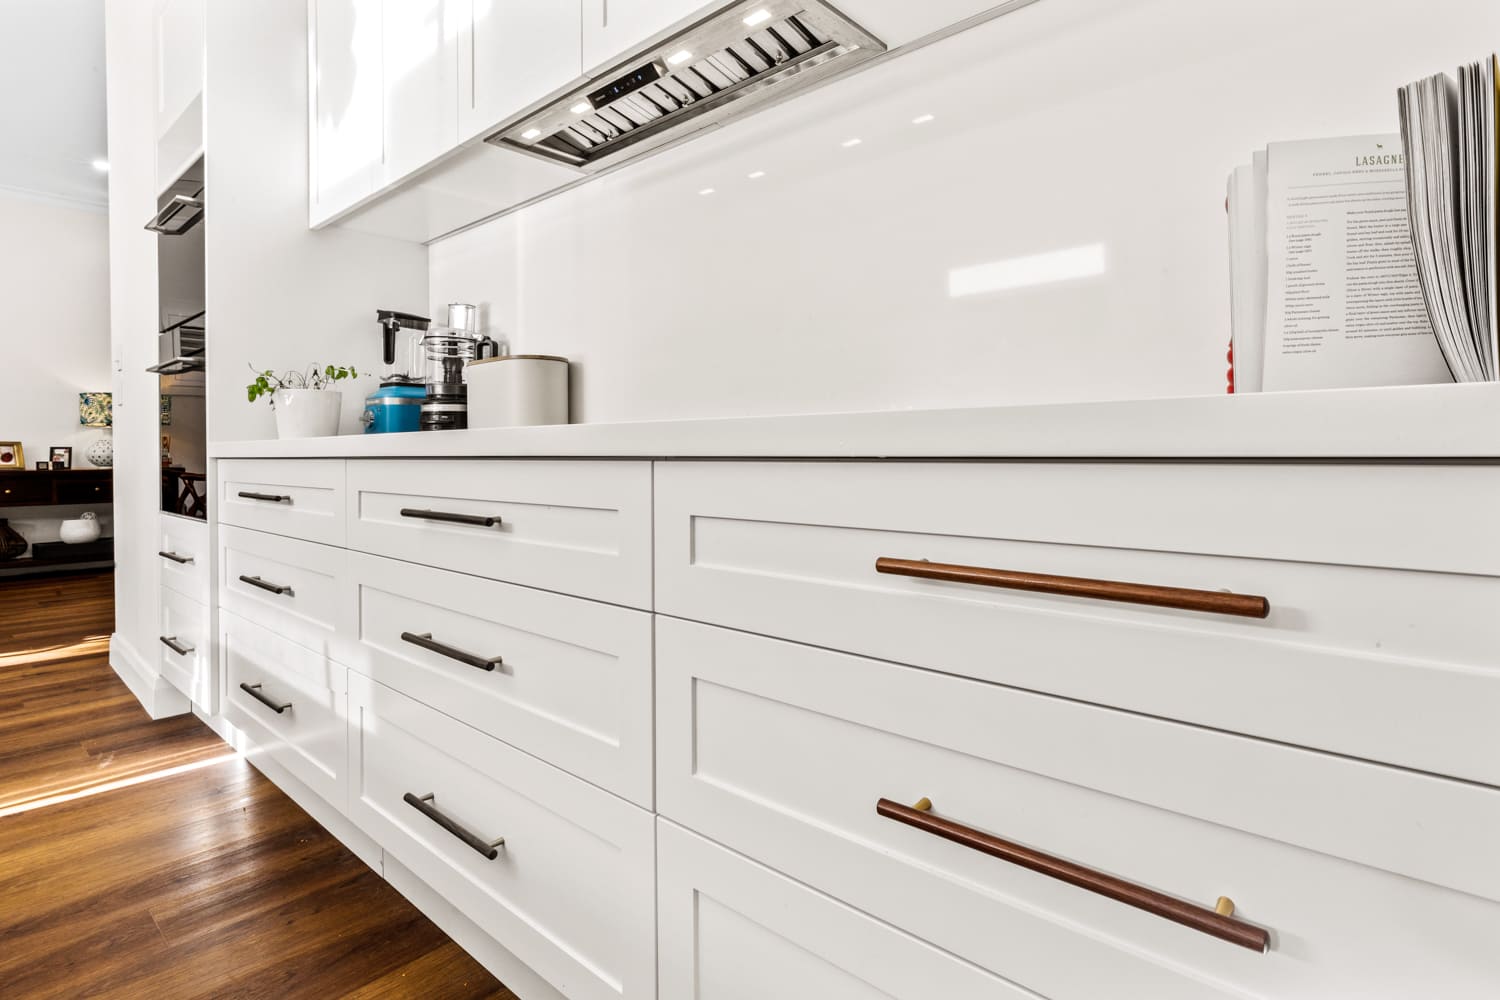
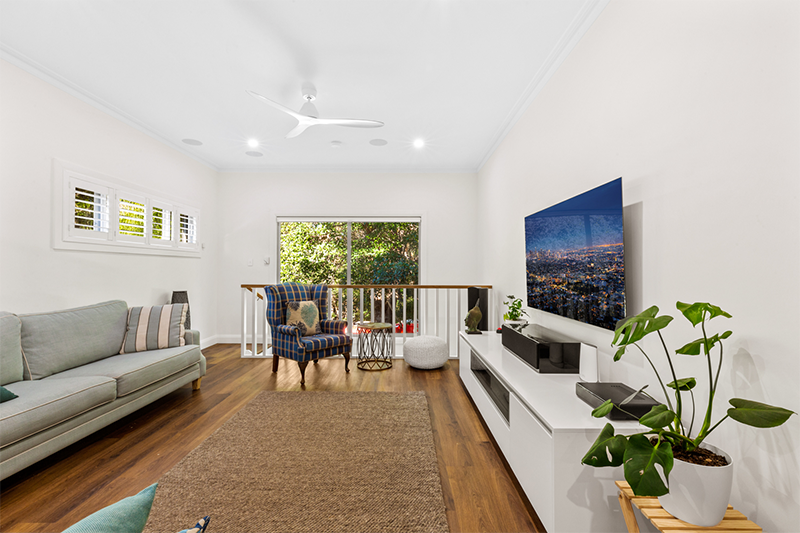
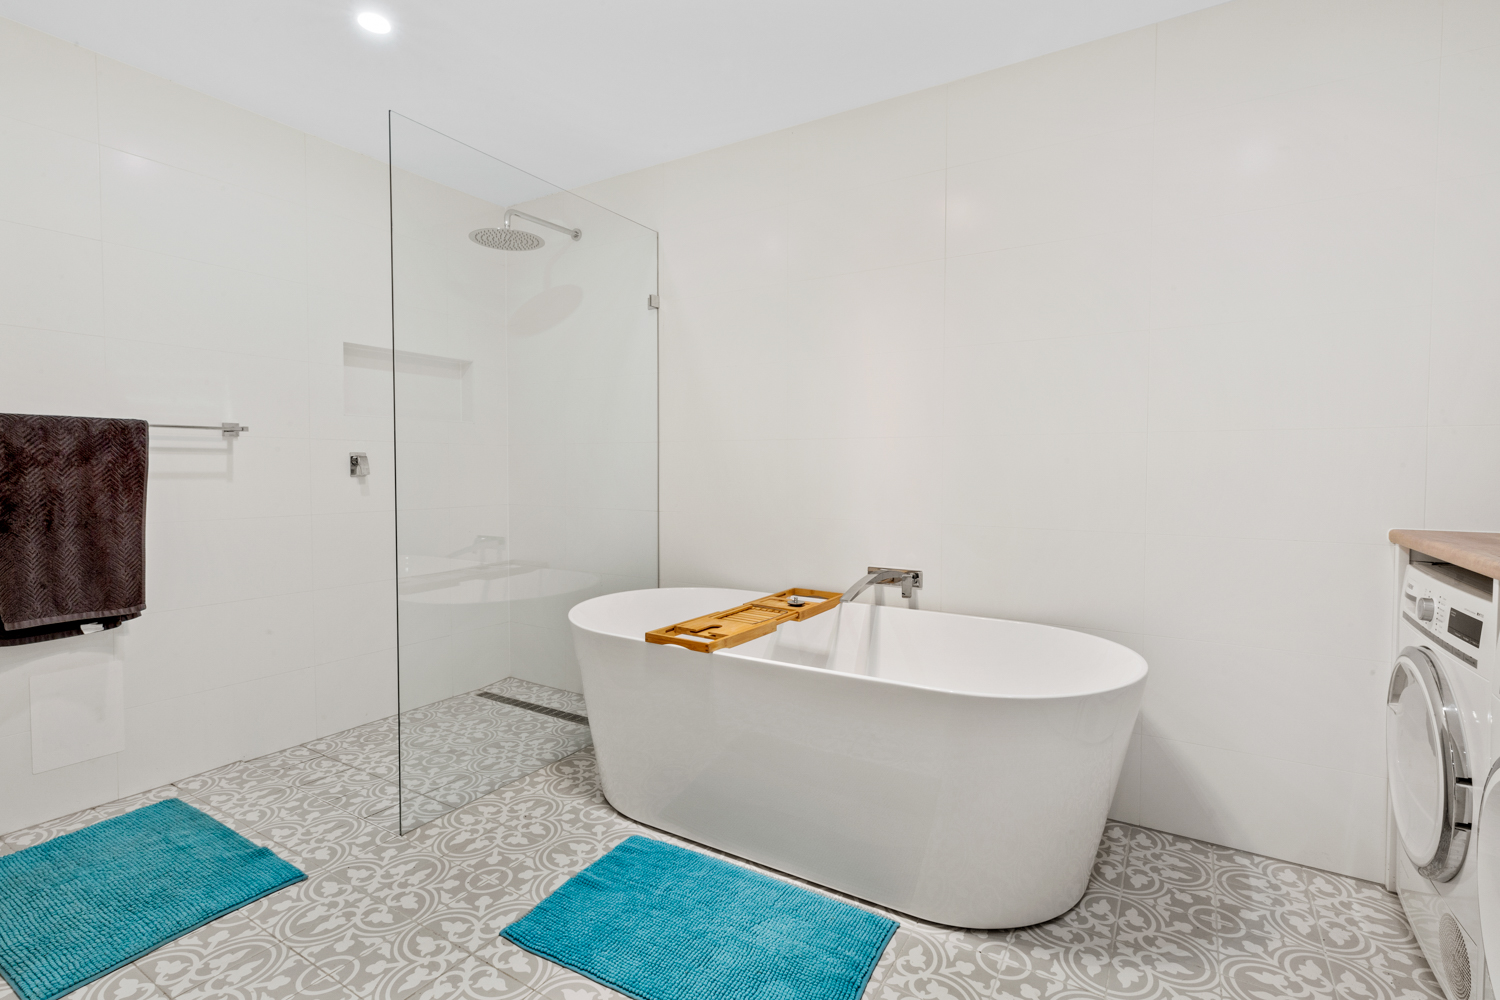
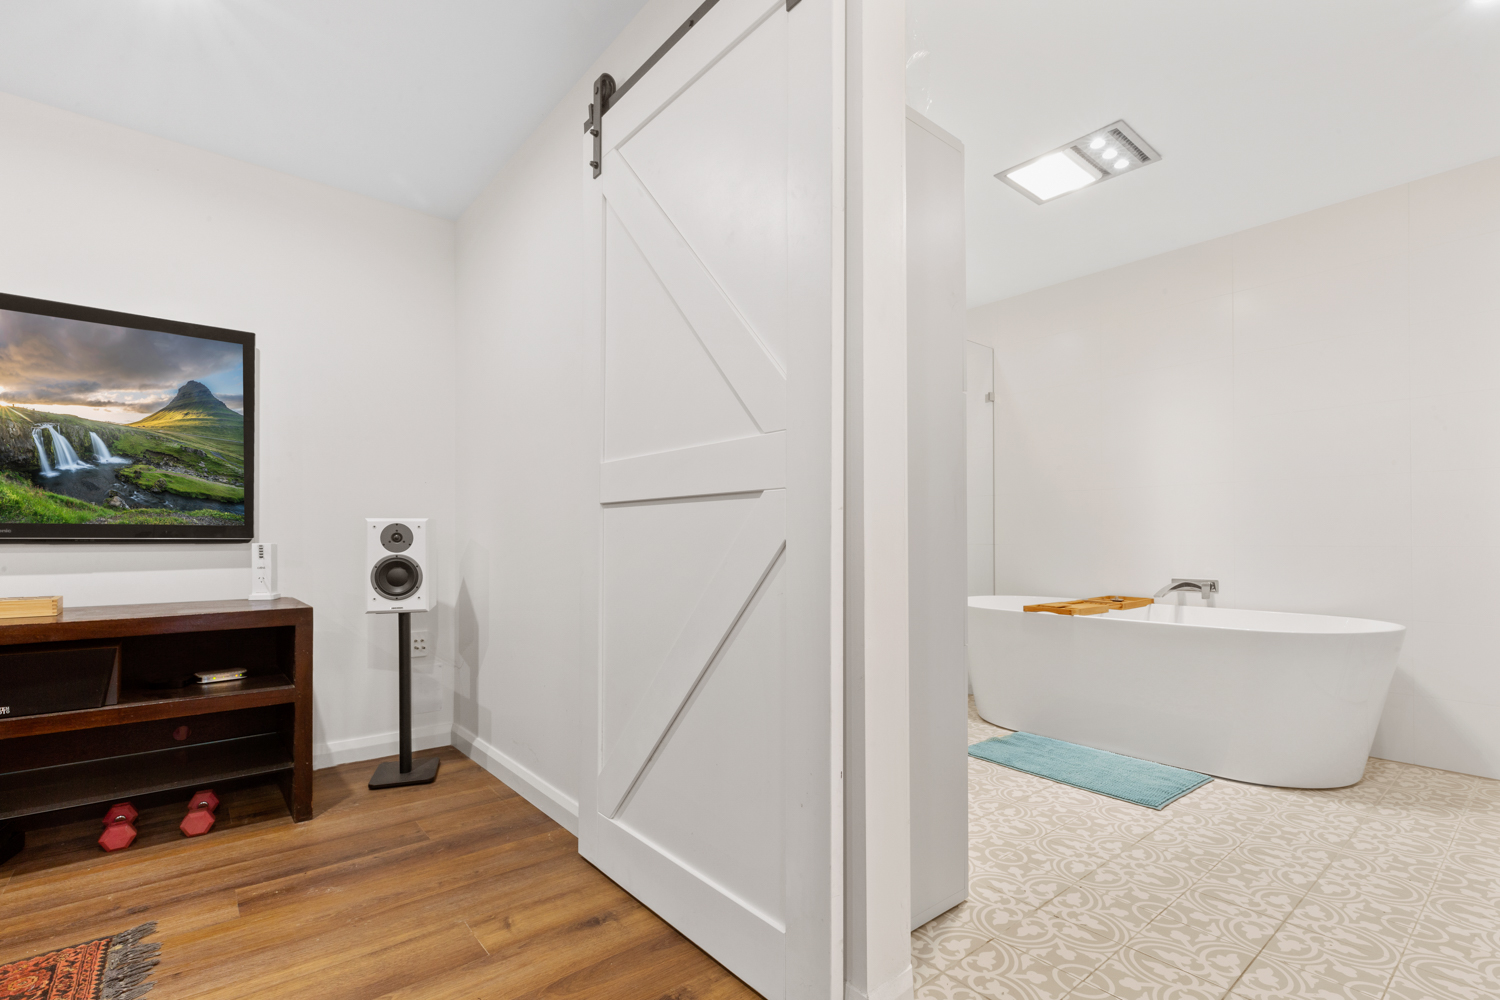
- 5 Bedrooms
- 3.5 Bathrooms
- House Floor Size 120 m2

Transforming a Vision into a Reality
Jeremy discovered Elite Additions through a Google search and was impressed by the positive reviews on the company’s website. The project had already received approval for planning, so Jeremy was ready to move forward with selecting a builder.
Design and DA Approval

We worked closely with Carolyn to refine her ideas, creating a detailed plan that met her expectations. During this phase, we explained the necessity of obtaining a Development Application (DA) to comply with local regulations. Once the design was finalised, we submitted the DA on her behalf.
With our expertise, Elite Additions successfully obtained the DA approval, allowing us to proceed with the construction certificate process. This step was crucial for ensuring that all building standards were met before starting any physical work.
Construction Phase
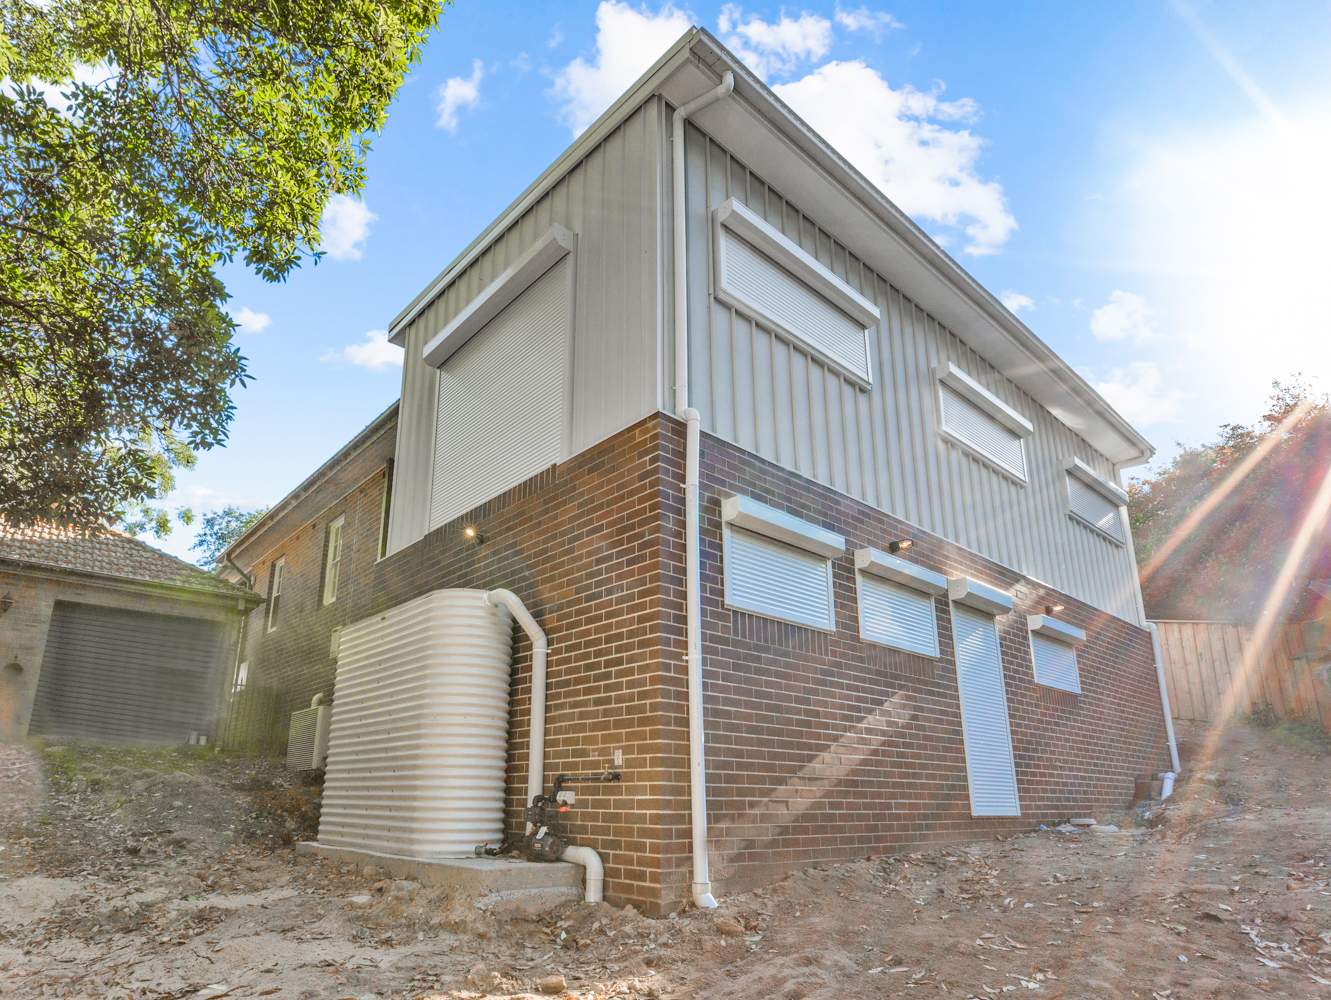
1- Topping Slab Installation: We began by laying a topping slab with a waterproof membrane underneath on the old garage, converting it into a comfortable, habitable room. This foundational step was vital for ensuring stability and compliance with building regulations.
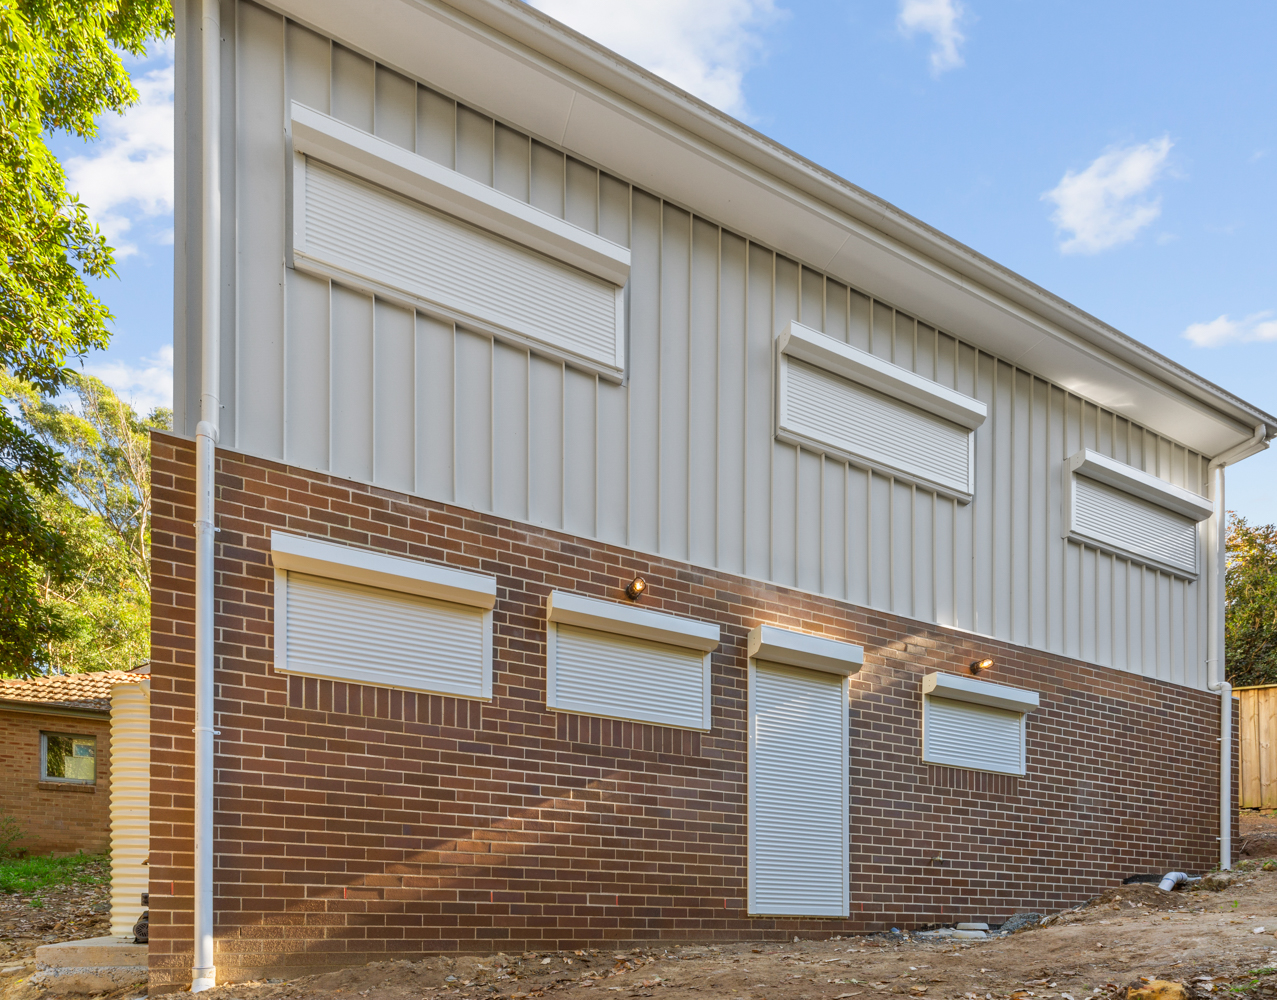
2- Wall Framing and Footing’s Excavation: Next, we constructed wall framing in the new activity room (old garage) and dug footings for the new carport. This phase set the stage for the steel framework that would follow.
3- Steel Fabrication: Once the footings were in place, we measured for the steel framework. This stage involved three weeks of downtime for fabrication and galvanization, ensuring durability and longevity.
4- Steel Installation: When the steel arrived, our skilled team installed and welded it on-site, providing the structure with essential support.
5- Timber Roof Framing: With the steel in place, our carpenters moved forward with the timber roof framing. Carolyn decided to include skylights as a variation, so we framed out the existing roof to accommodate this addition.
6- Metal Roofing: Once the carpentry was complete the insulation and corrugate metal roof sheets installed. We went with 0.048BMT thick roof sheets as this is less prone to dents being thicker then the standard 0.042 BMT that most companies use.
7- Inspections: The engineer and certifier were able to inspect the work now that the weight was on the frame. This crucial inspection occurred before the lining was installed, ensuring everything was in compliance before covering it up.


Electrical and Plastering
")
Once the roof framing was complete, we coordinated with the electricians for the rough-in stage. The plasterers then took just two days to finish their work, bringing us closer to completion with everything coming together.
Finishing Touches
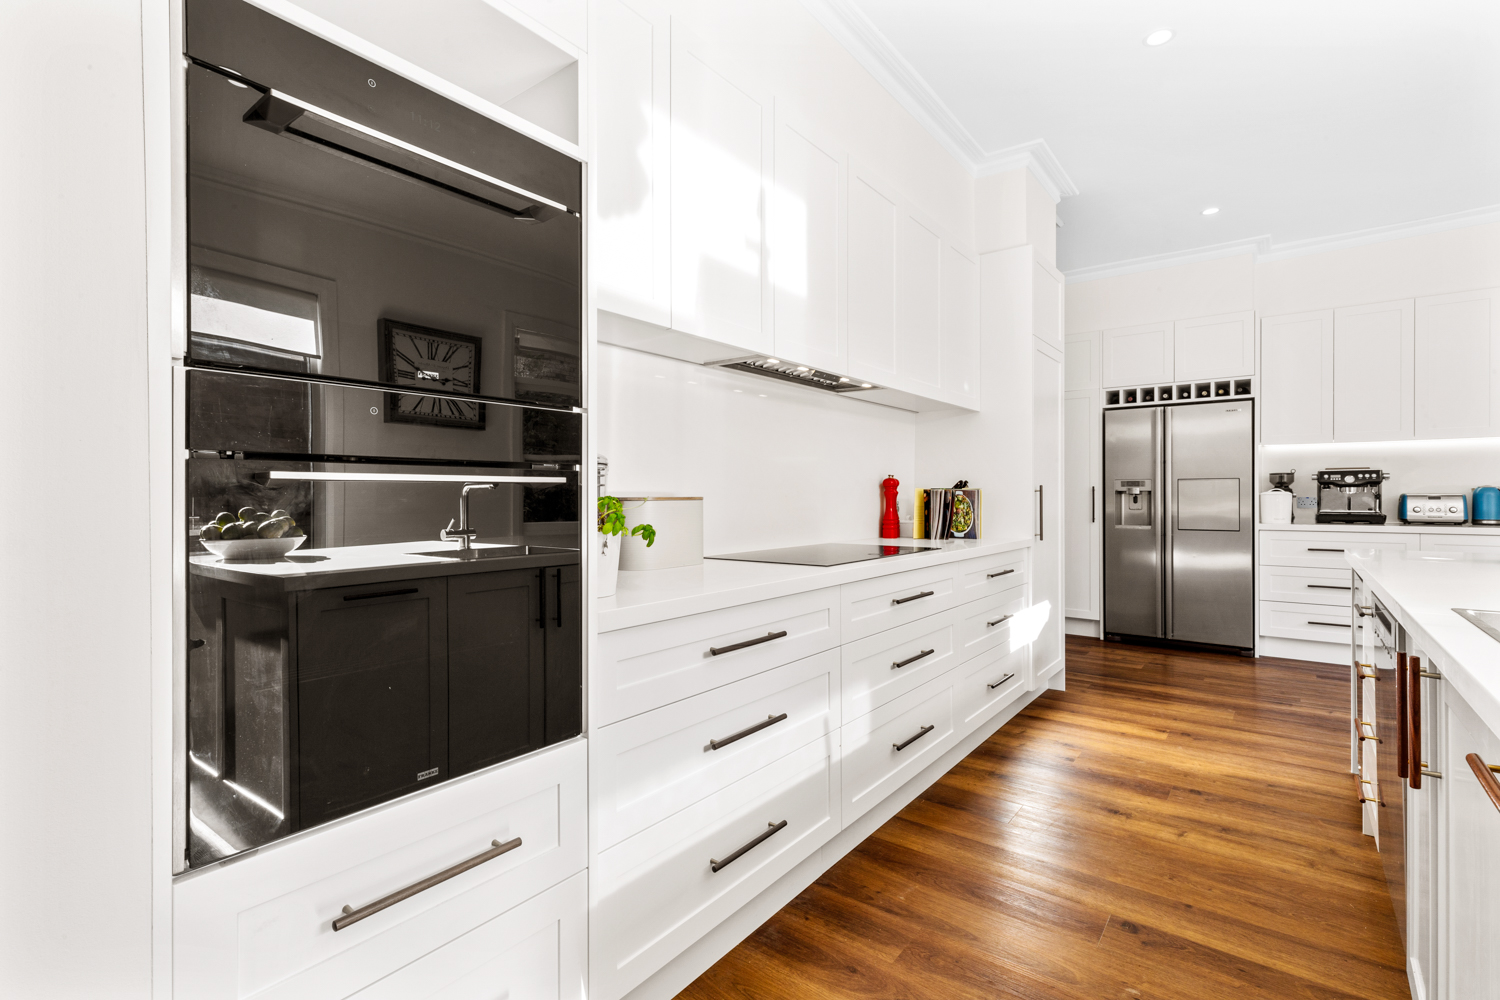
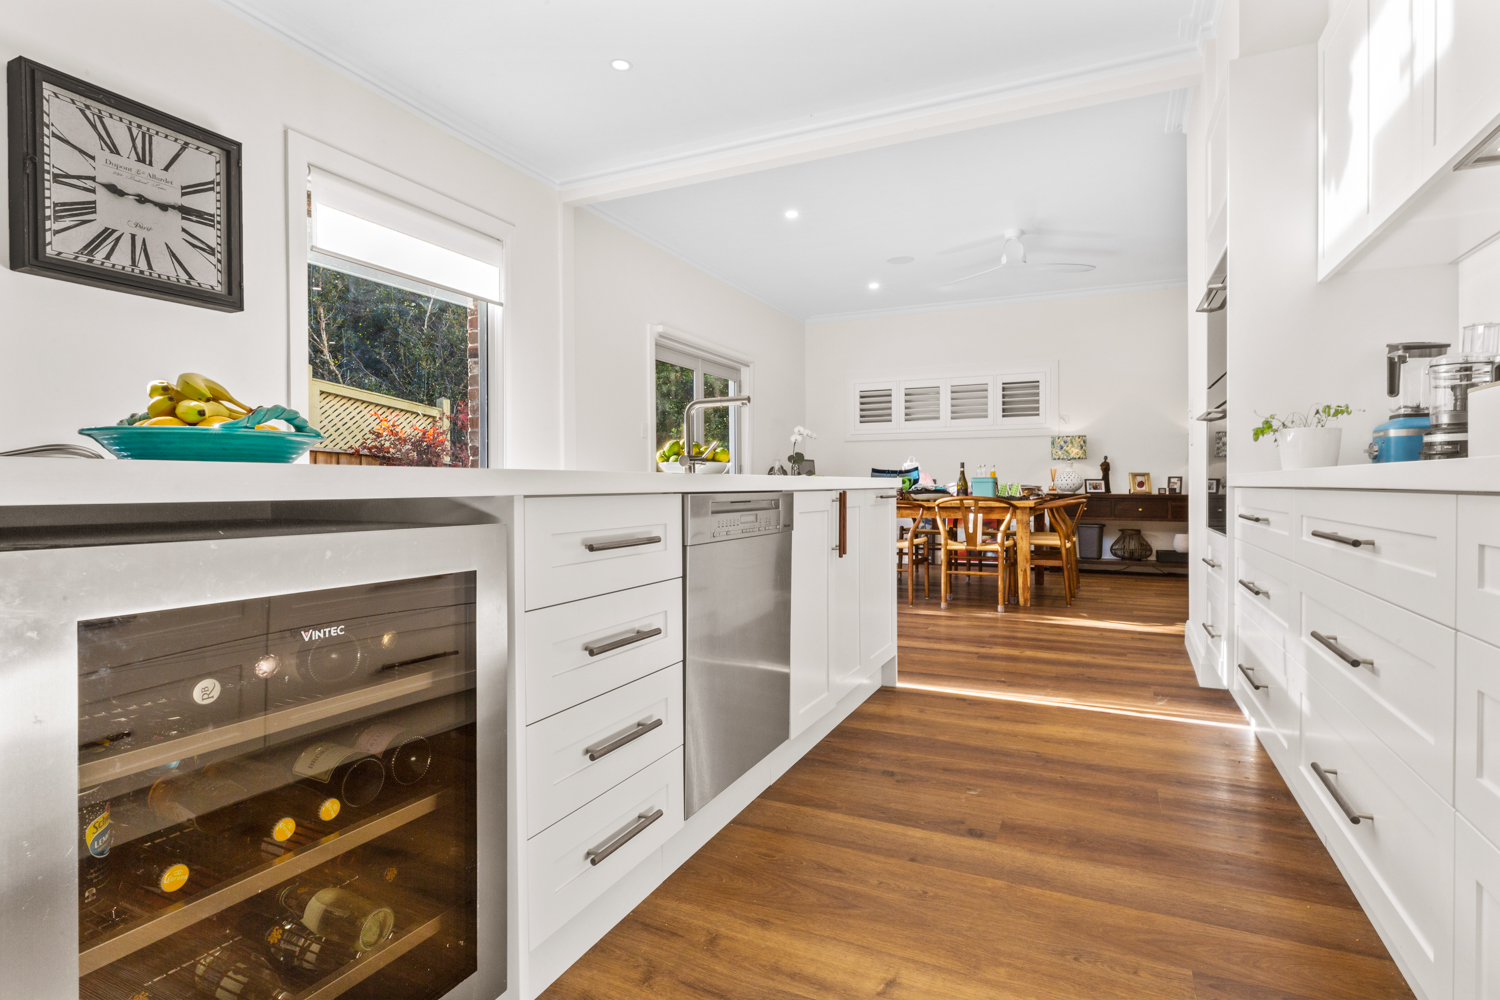
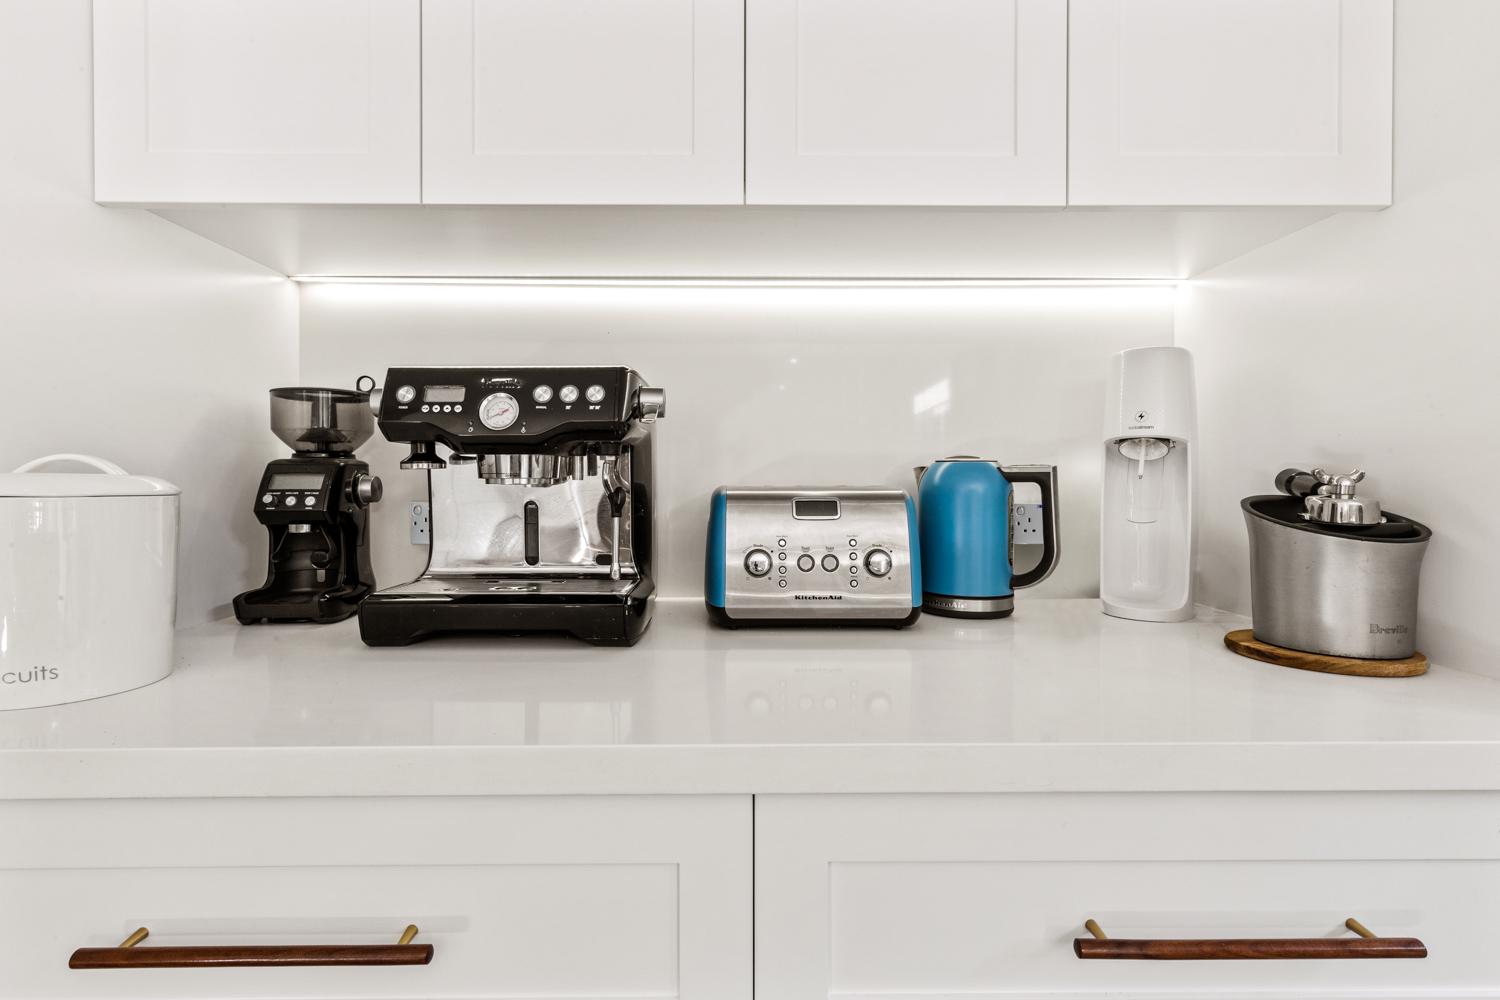
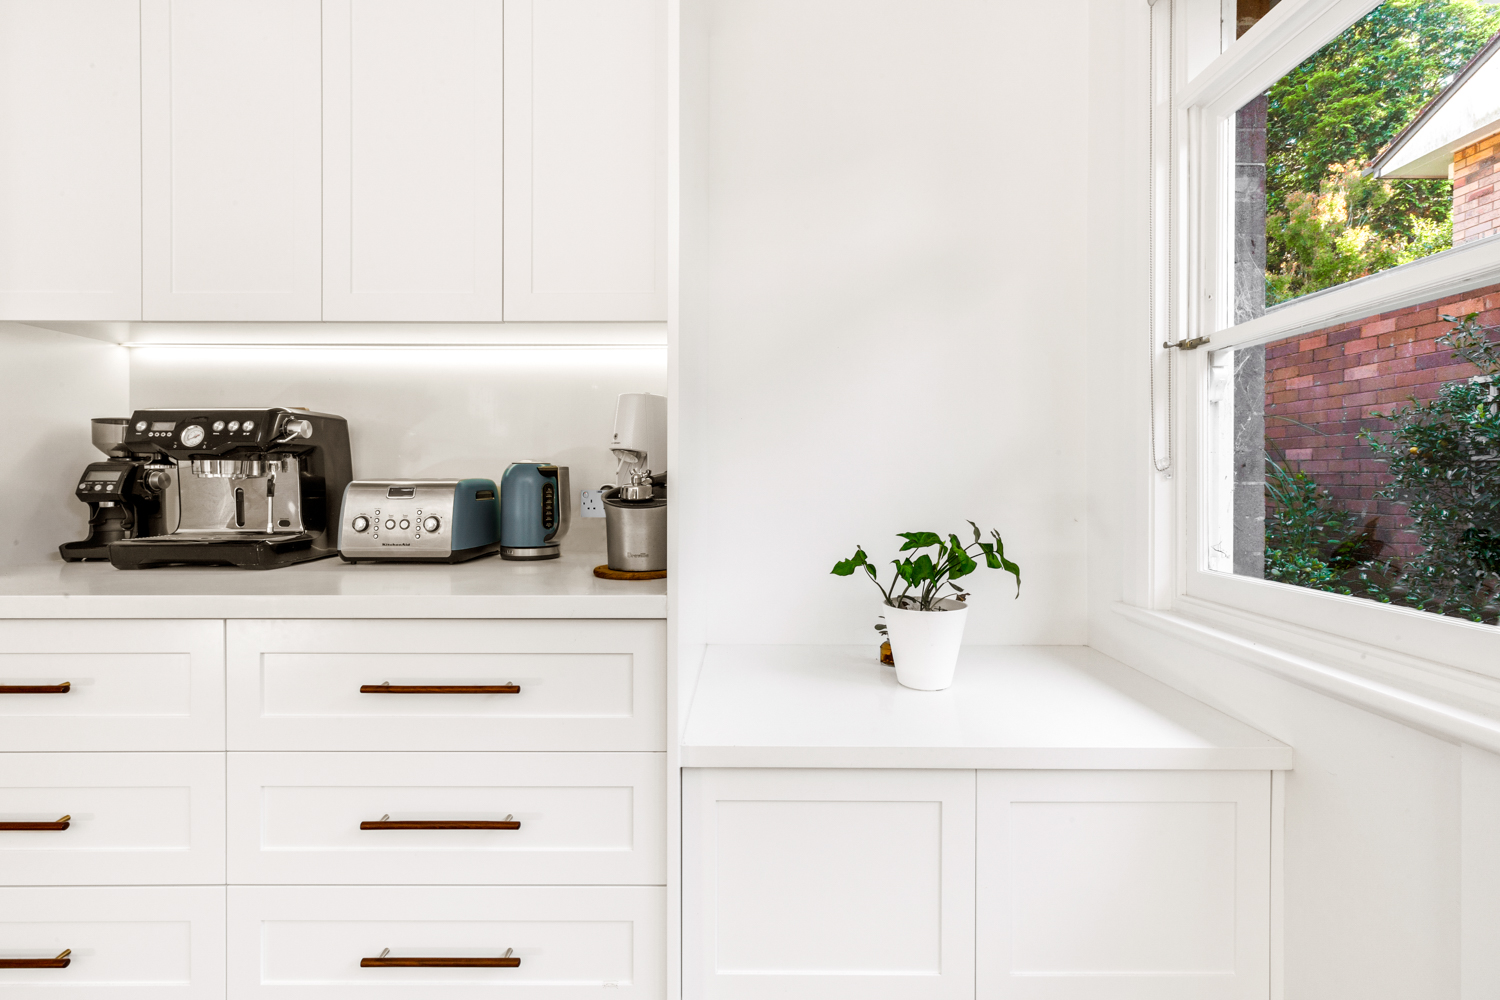
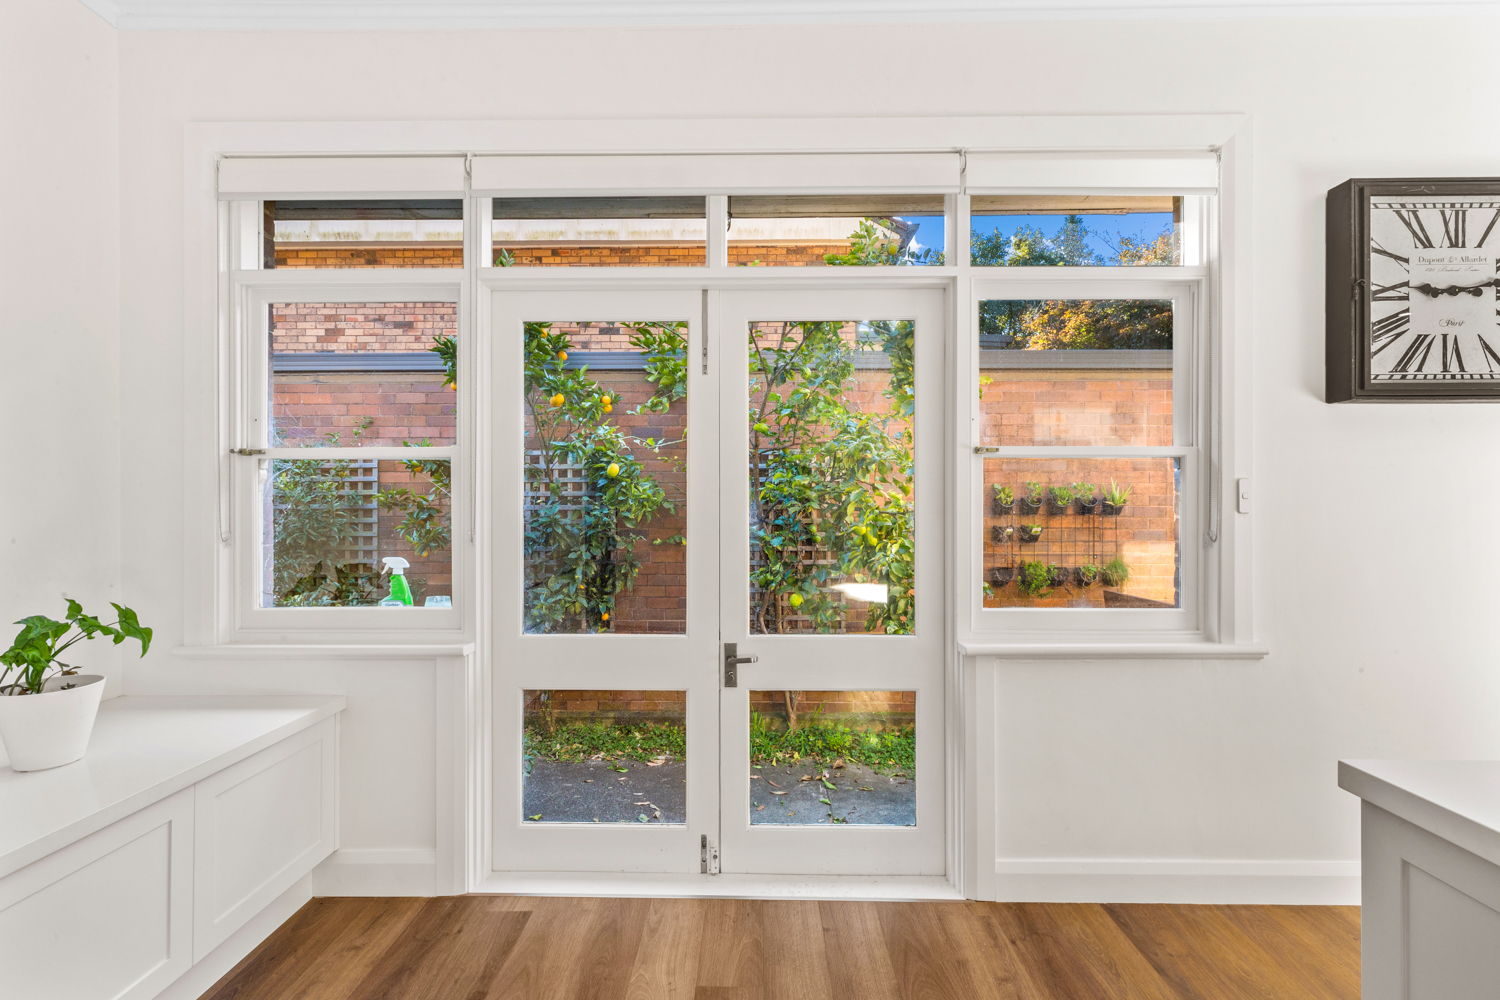
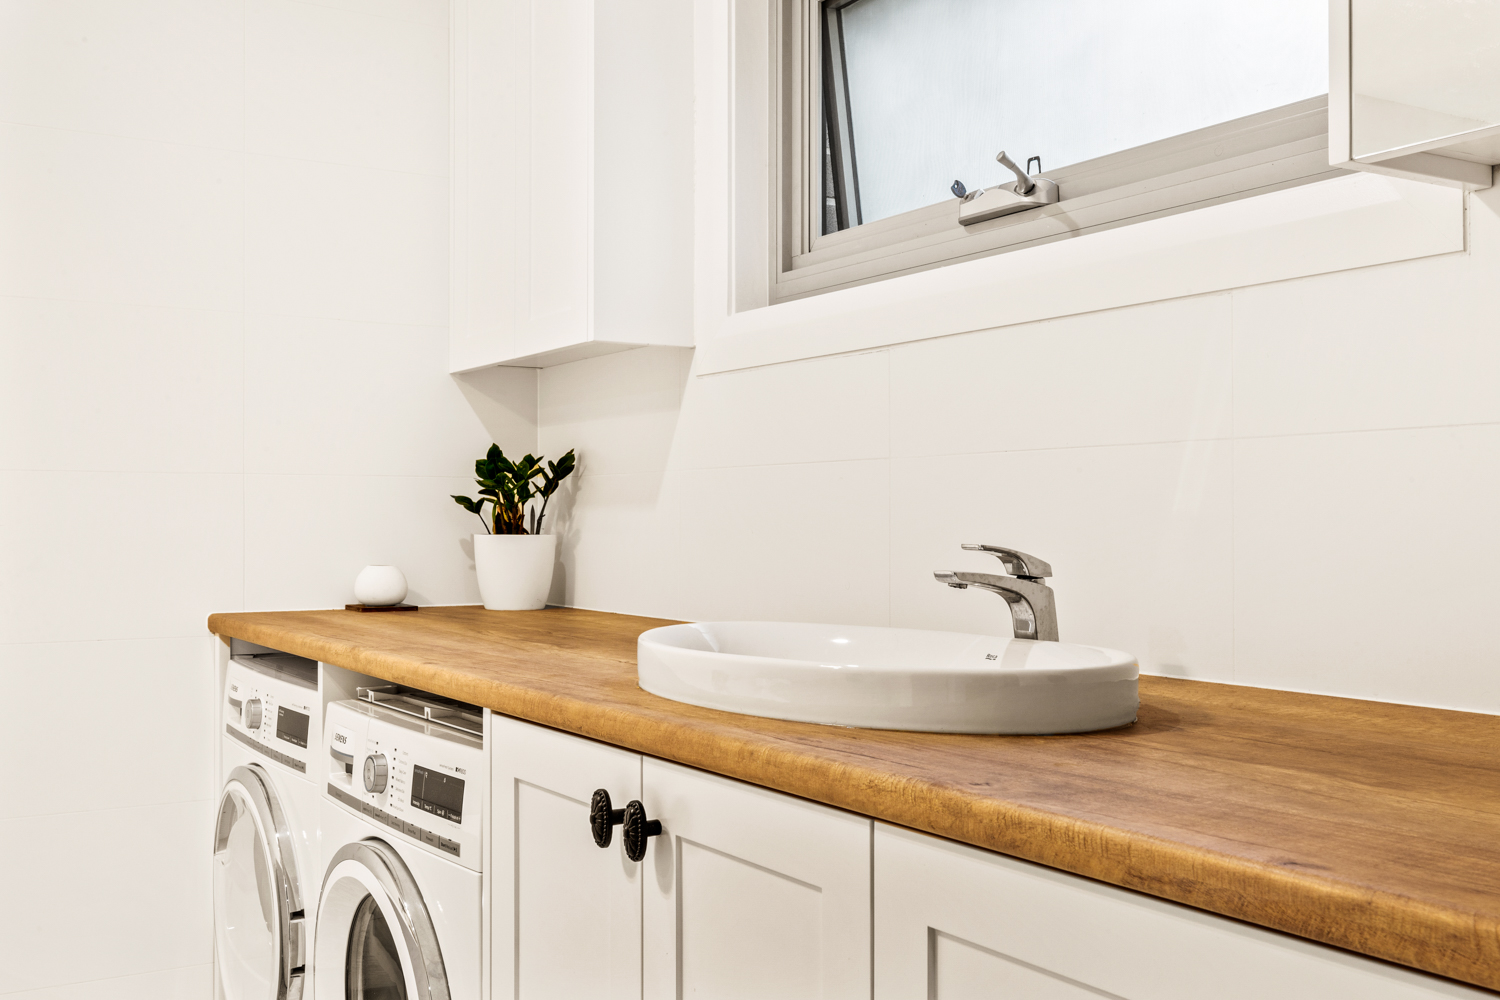
Cleanup and Fit-Out: A thorough cleanup was conducted, followed by the installation of flooring and fittings.
Painting and Final Electrical Work: Once the interior was prepped, our team completed the painting and final electrical installations.
Final Cleaning: Our cleaners performed a detailed clean-up, including window washing and rubbish removal, leaving the space immaculate.
Final Walkthrough and Certification
After completing the project, we conducted a final walkthrough with Carolyn. During this inspection, we identified a minor incomplete works with an aluminium angle next to a window that needed installing before final payment could be processed.
Once this was carried out and payment was made, the certifier was able to conduct an inspection for the occupation certificate, officially allowing Carolyn to enjoy her new space.

Costing Breakdown
The original cost of this project was calculated at $133,904.50, by the end of the job the total amount reached $146,942.75.
The total difference between estimated amount and final amount is $13,038.25. This amount was reached due to a combination of extras and obstacles encountered that were unforeseen from the design stage, ill explain:
1- The client asked for two Sky Lights to be added to allow a larger volume of natural light into the space. Cost $5,432.00
2- whilst we were carrying out demolition a structural beam that was hidden was greatly undersized as it was, based on it location we knew it would have to take more load due to the work that was going to be carried out. Resulting in removal and installation of a larger steel beam in accordance to Australian standards. Cost $3,712.50
3- Once we reached electrical rough in stage we held a meeting with the client to ensure they were satisfied, from that conversation the client wanted to add extras due to changing needs. Cost $ 1,843.75
4- After the quote and design stage was complete the Client came to us and asked for an extra window to be installed. Cost $2,050.00
The Breakdown
When we quote a job, we believe that cost transparency is key to building a strong and trusting relationship between us and our clients. We understand that unexpected costs can lead to frustration, which is why we prioritize clear and open communication about expenses from the very beginning.
Just like you, we aim to avoid surprises and ensure that you have a full understanding of where your investment is going.
To the right, you’ll find a detailed breakdown of the final costs for Carolyn’s project. This breakdown covers every aspect of the job, including materials, labor, and any additional services provided, so you can see exactly how each cost contributes to the overall total. We hope this clarity reassures you of our commitment to fairness and accuracy in our pricing.
If you have any questions or would like further details on any aspect of the cost breakdown, please don’t hesitate to reach out. We’re here to ensure you feel fully informed and confident with every step of the process.
| Category | Amount |
|---|---|
| Preliminaries | $19,789.00 |
| Excavation & Demolition | $9,300.83 |
| Plumbing | $5,173.41 |
| Concrete | $12,707.87 |
| Termite Treatment | $2,120.25 |
| Carpentry | $45,394.26 |
| Structural Steel | $9,329.10 |
| Brickwork | $4,410.83 |
| Windows | $4,240.50 |
| Roofing | $10,043.40 |
| Electrical | $3,512.55 |
| Insulation | $361.40 |
| Plaster | $9,753.15 |
| Painting | $7,067.50 |
| Flooring | $3,738.71 |
| Total | $146,942.75 |
Conclusion
The successful transformation of Carolyn’s garage into a beautiful, functional living space exemplifies Elite Additions’ commitment to quality and customer satisfaction. By guiding her through every step of the process, from design to completion, we not only met her expectations but exceeded them.
Call to Action
Are you looking to transform your space? Whether you have a vision or need help developing plans, Elite Additions is here to assist you every step of the way. Contact us today to discuss your project and see how we can turn your ideas into reality!